RenderModes can be defined by instantiating one, and be used in the SceneView in the top left corner, where a drop-down opens, and you can chose the mode to be used.
Scene Overview
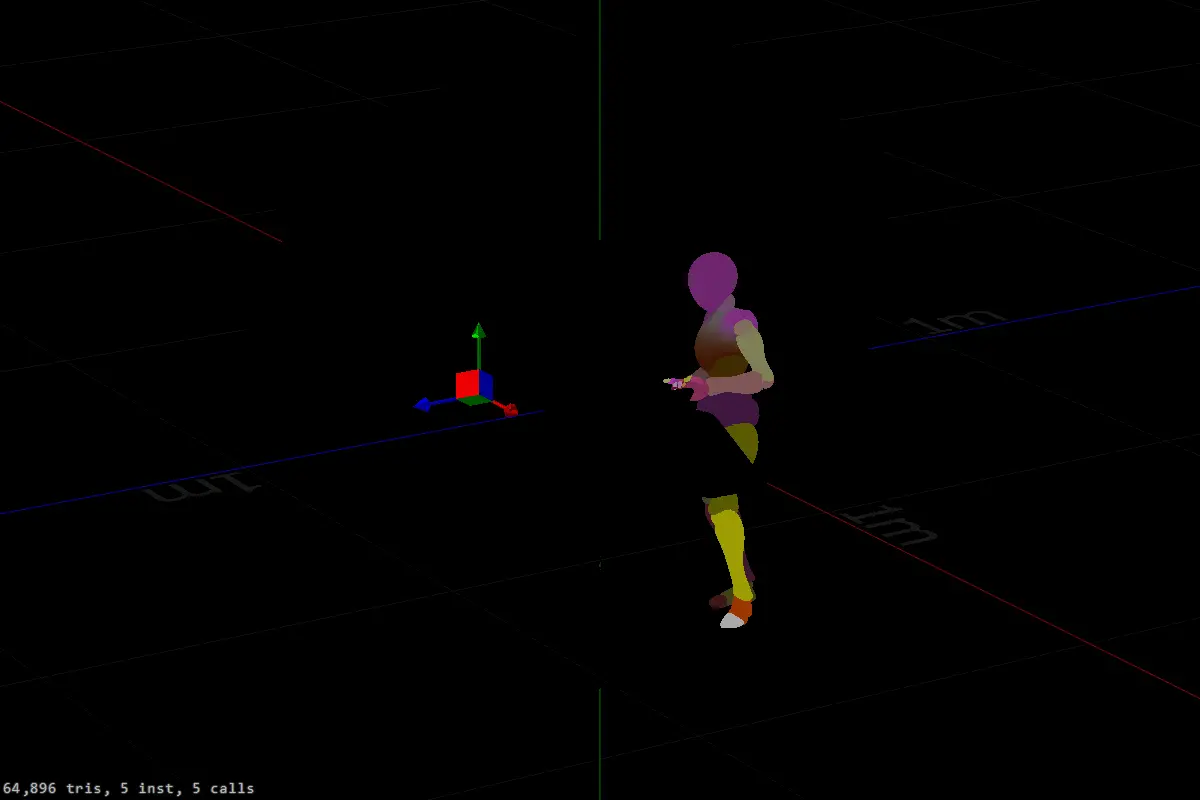
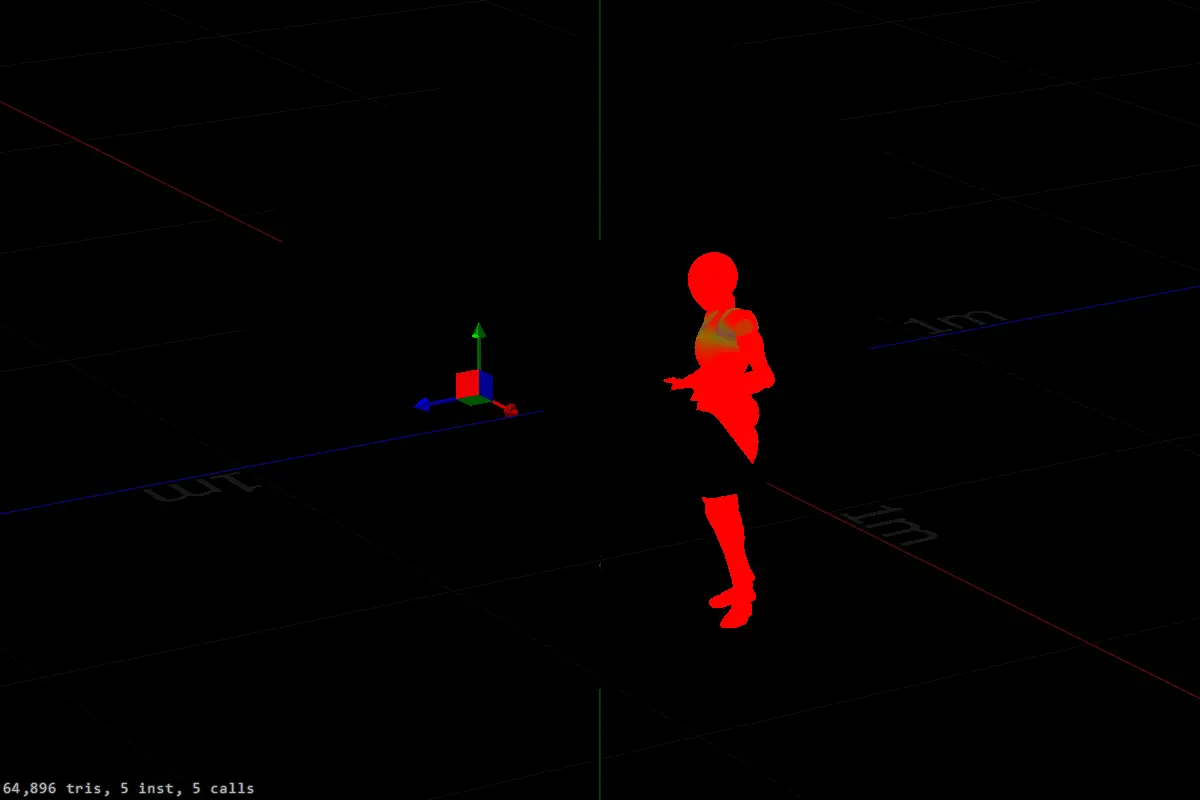
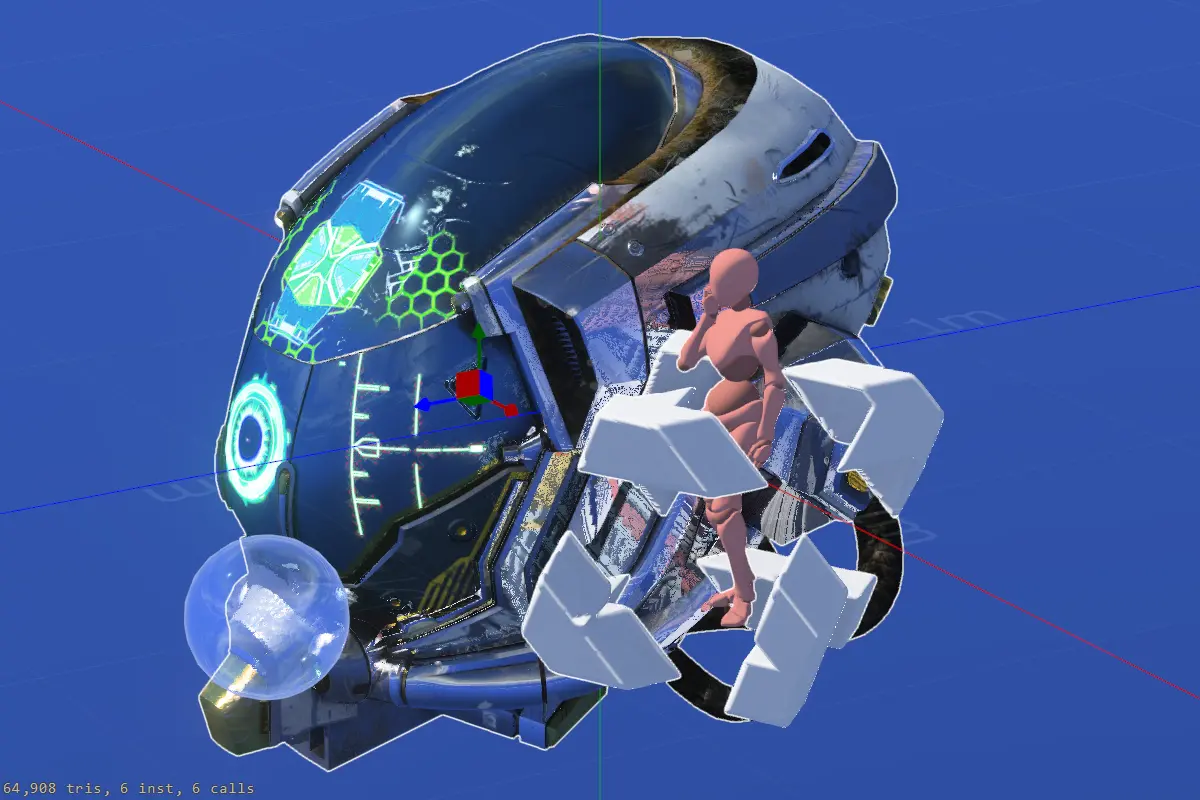
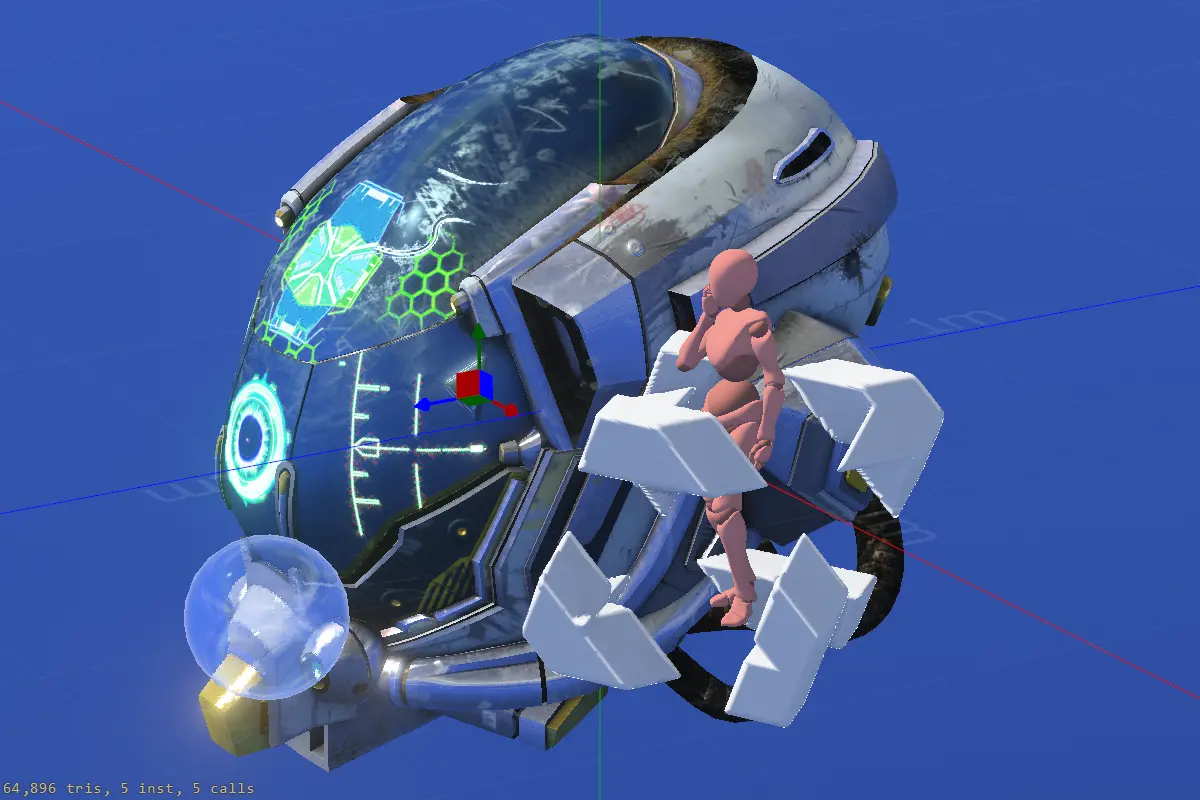
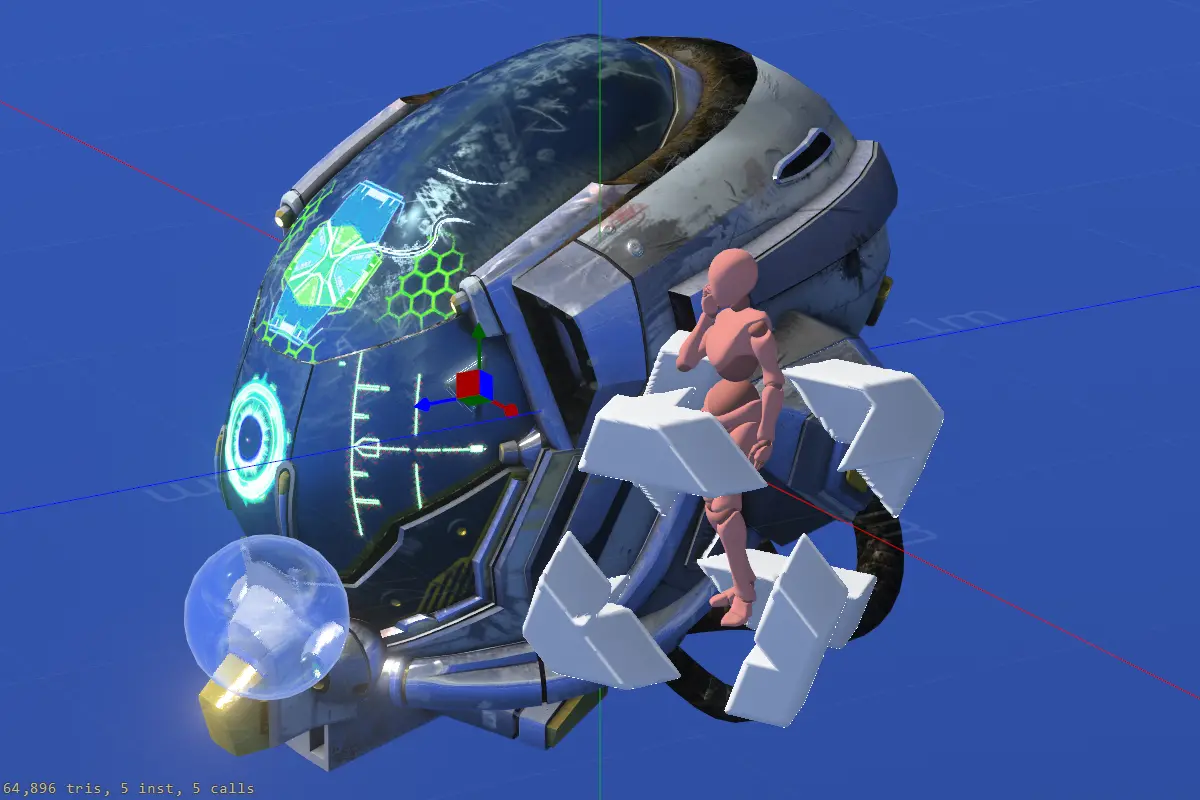
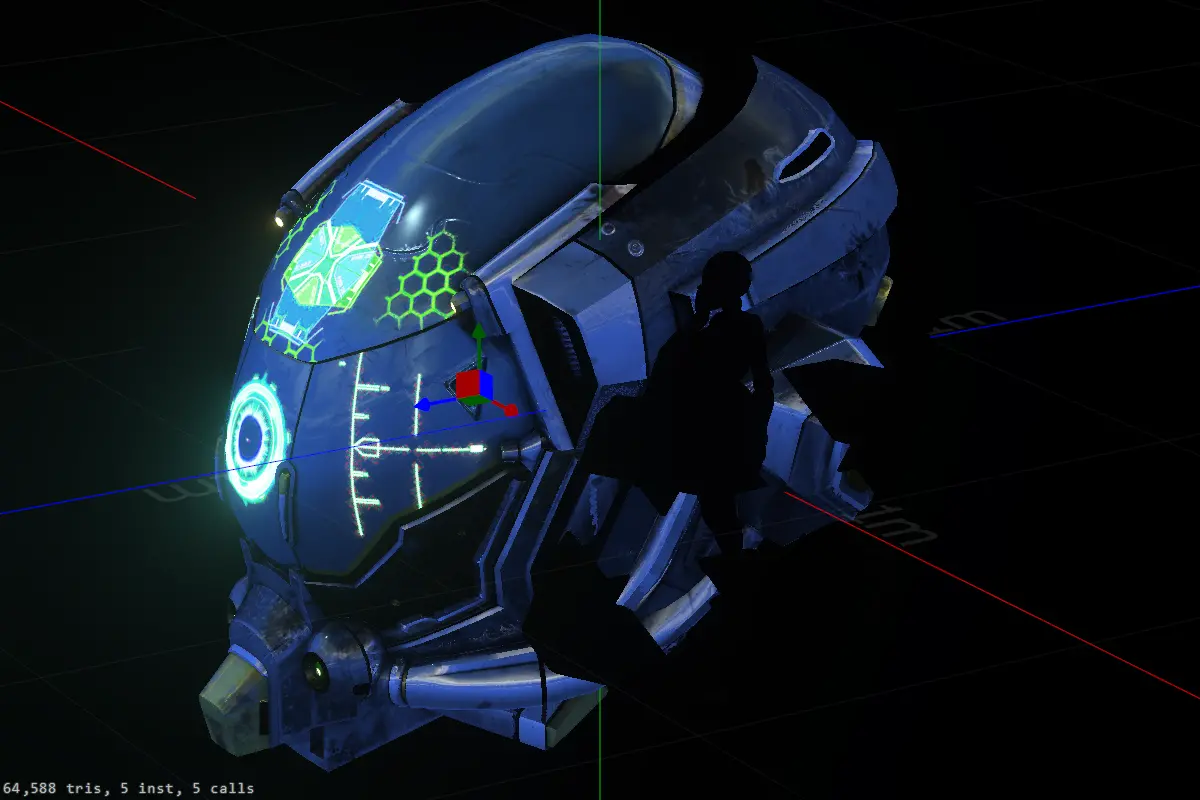
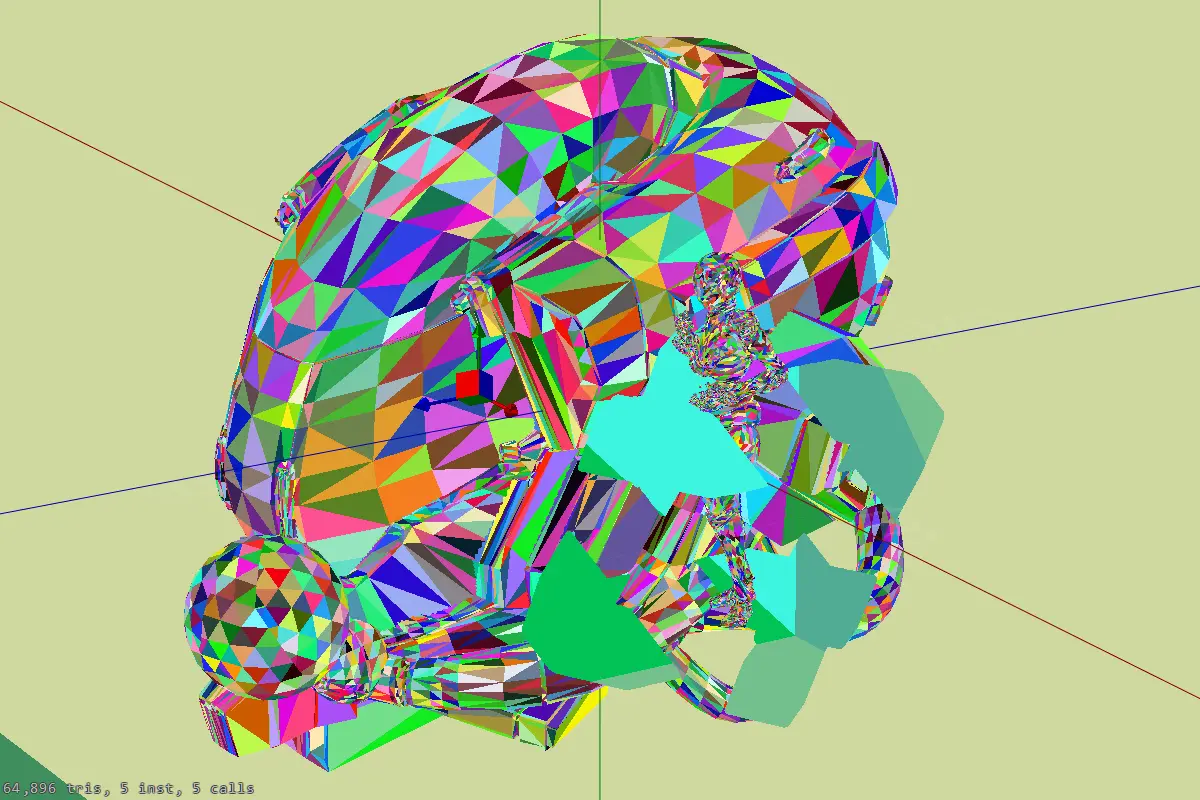
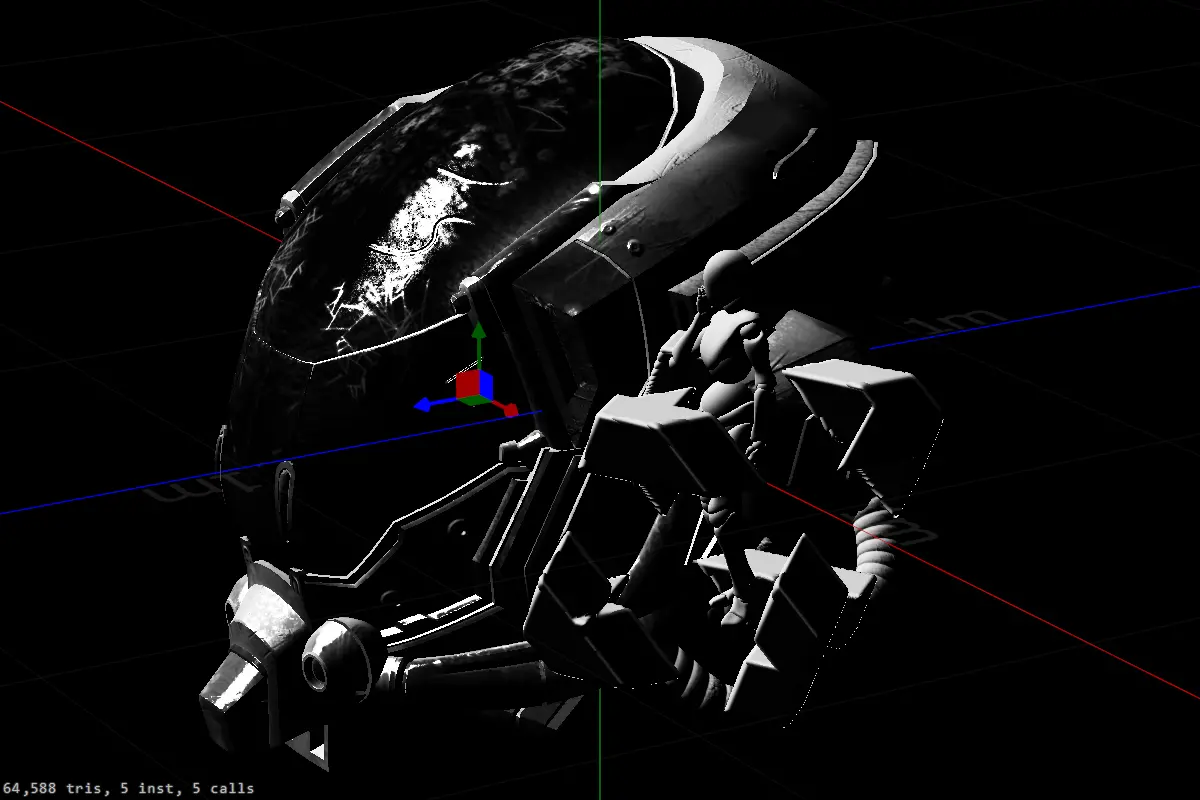
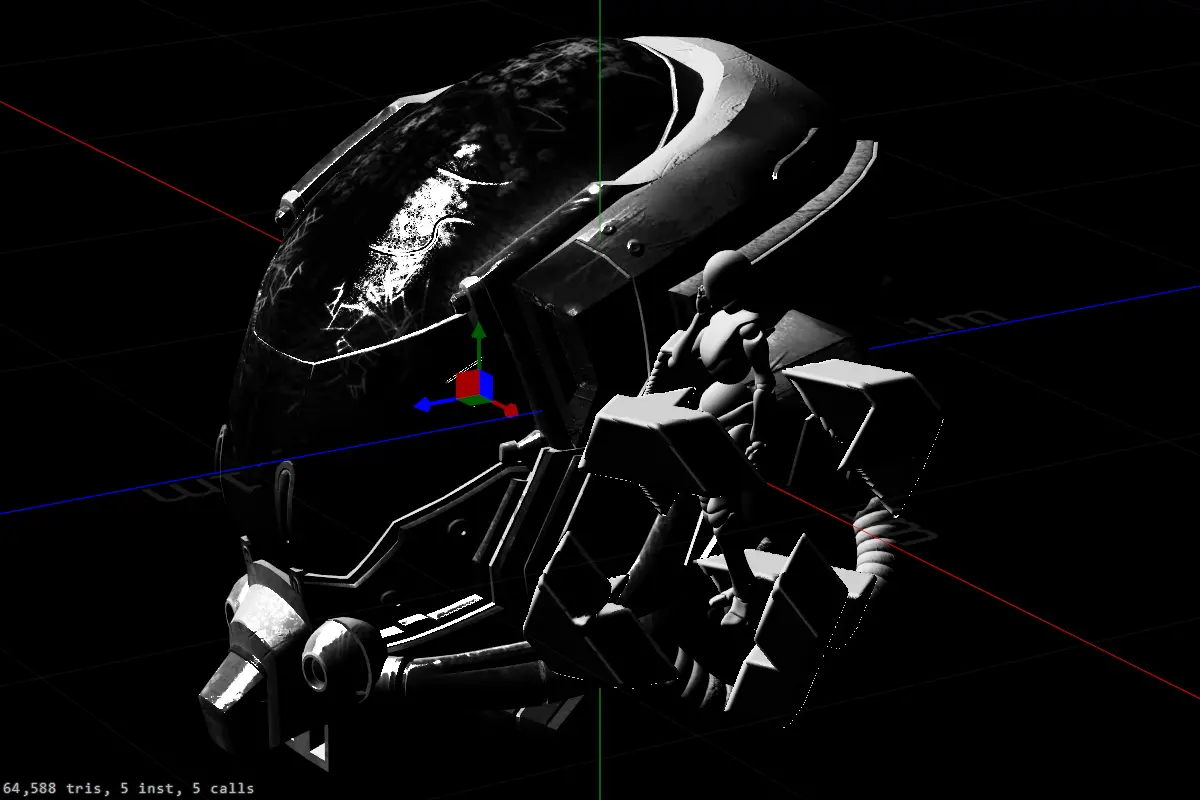
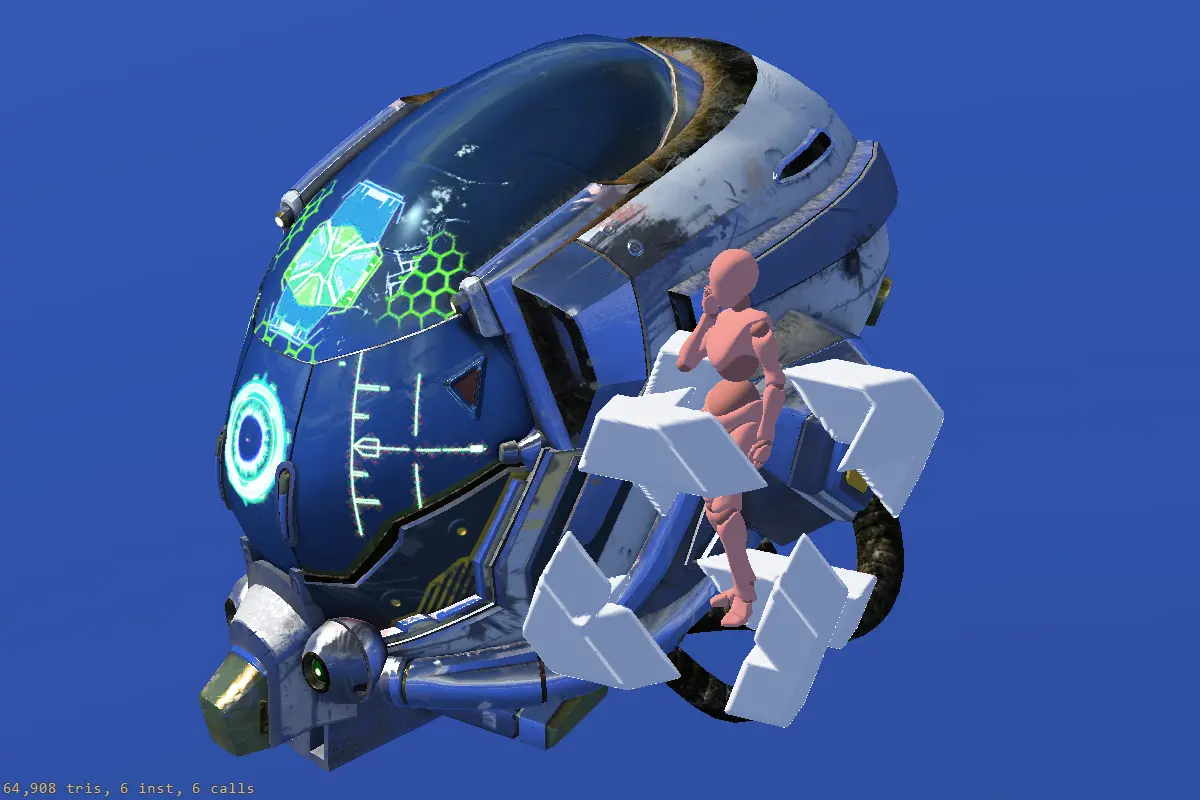
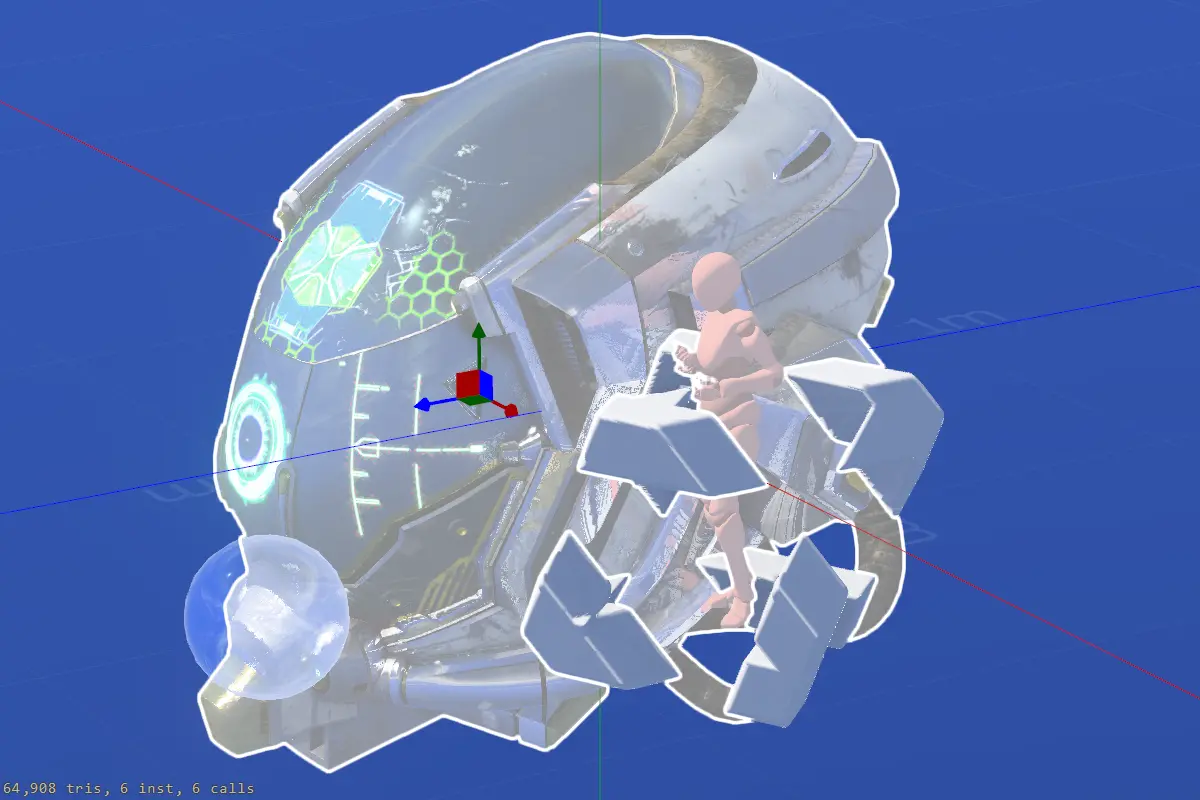
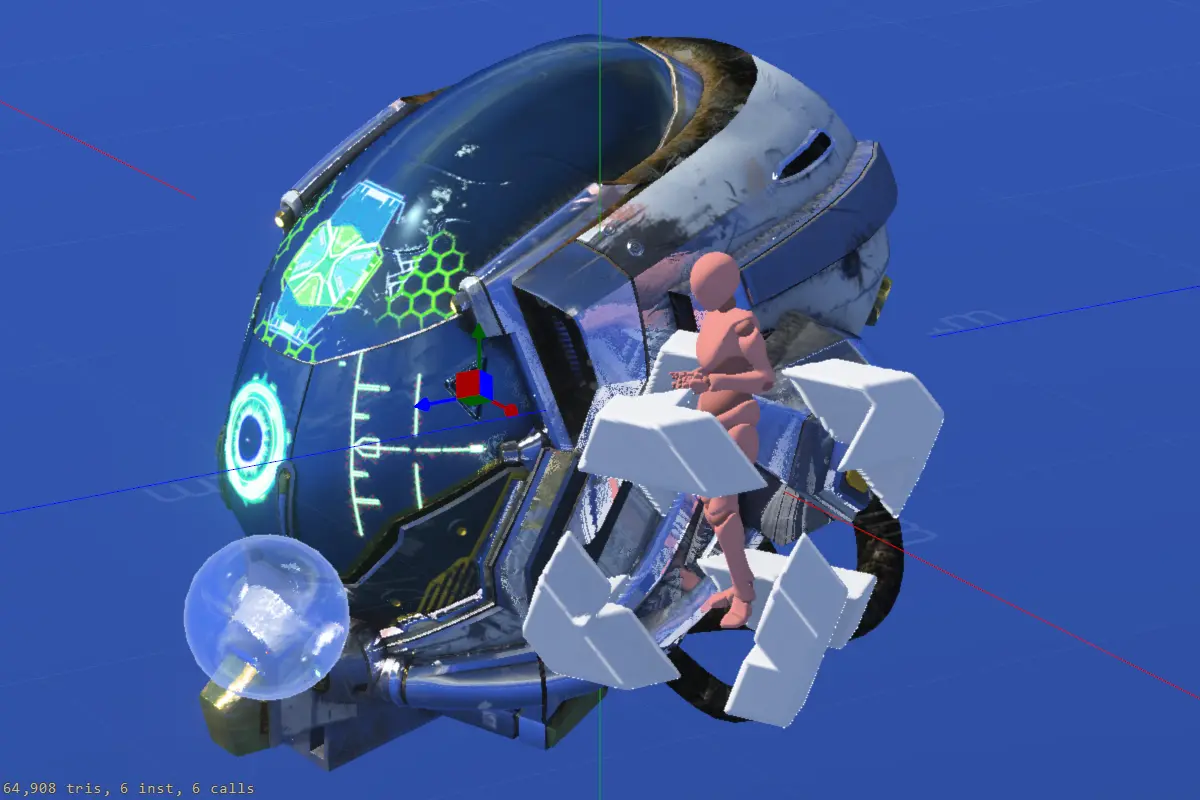
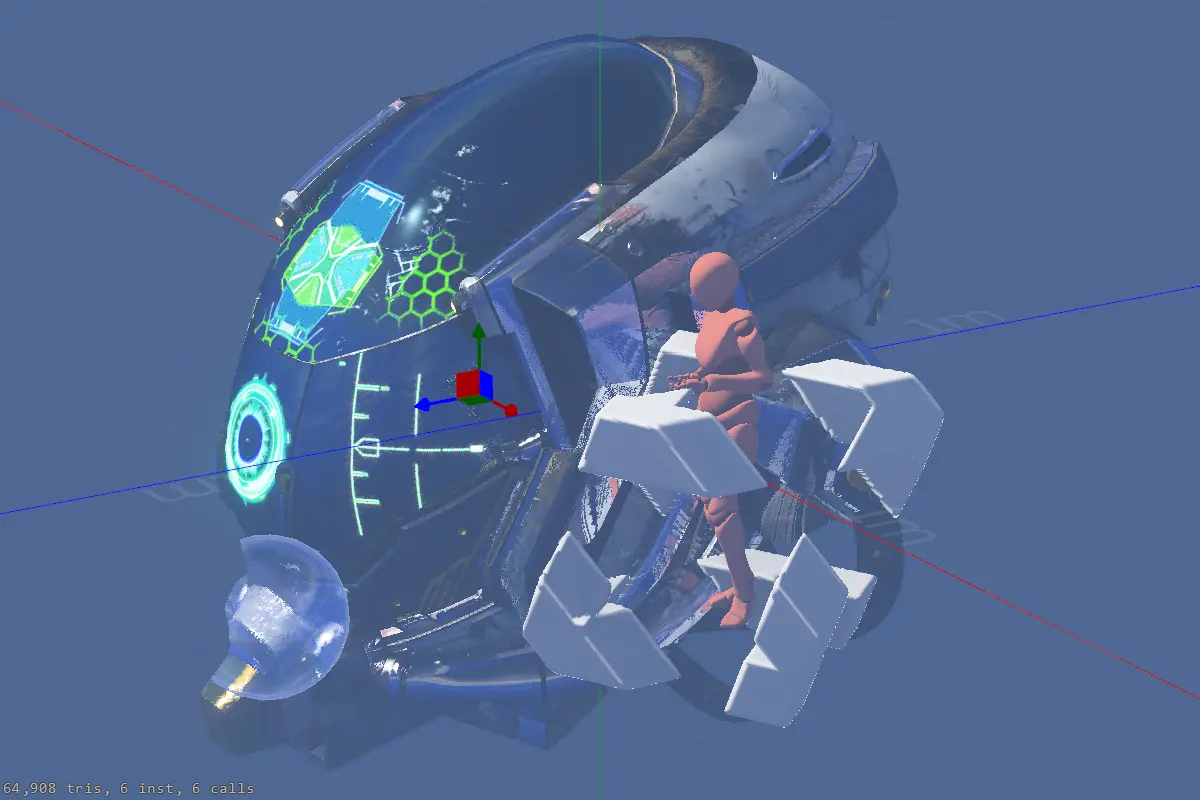
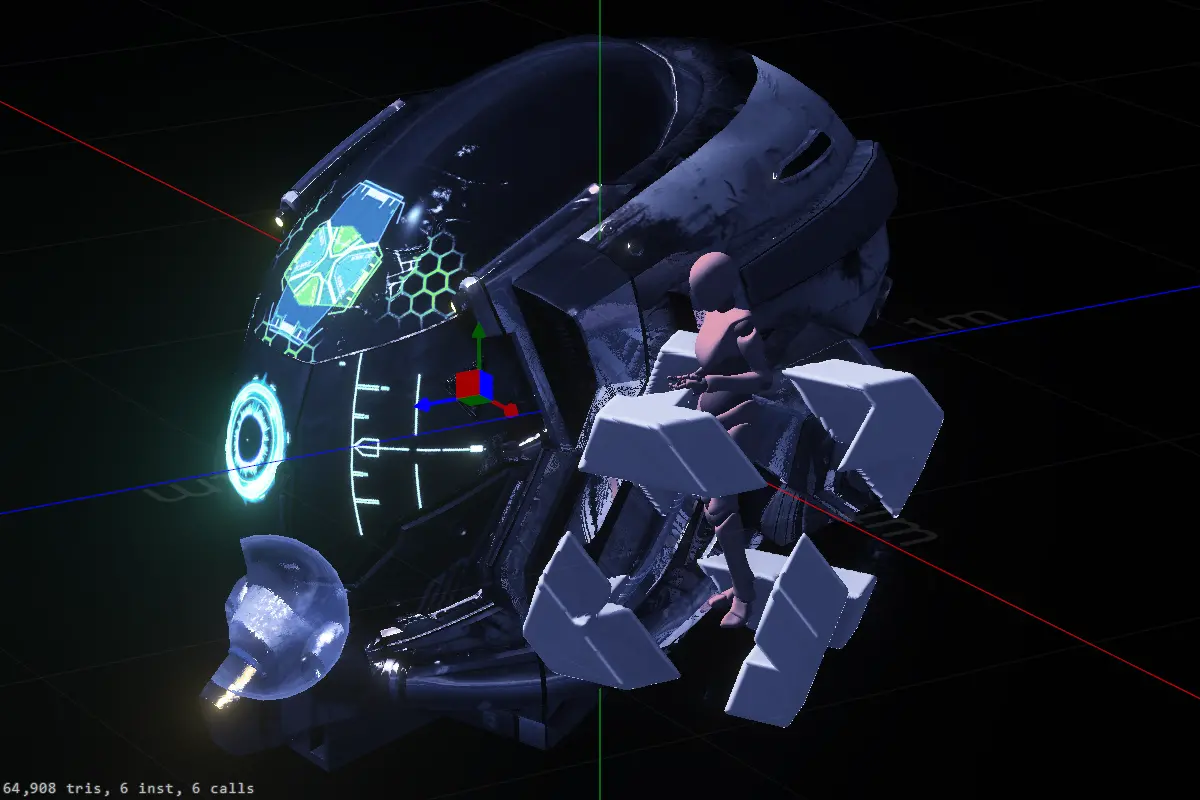
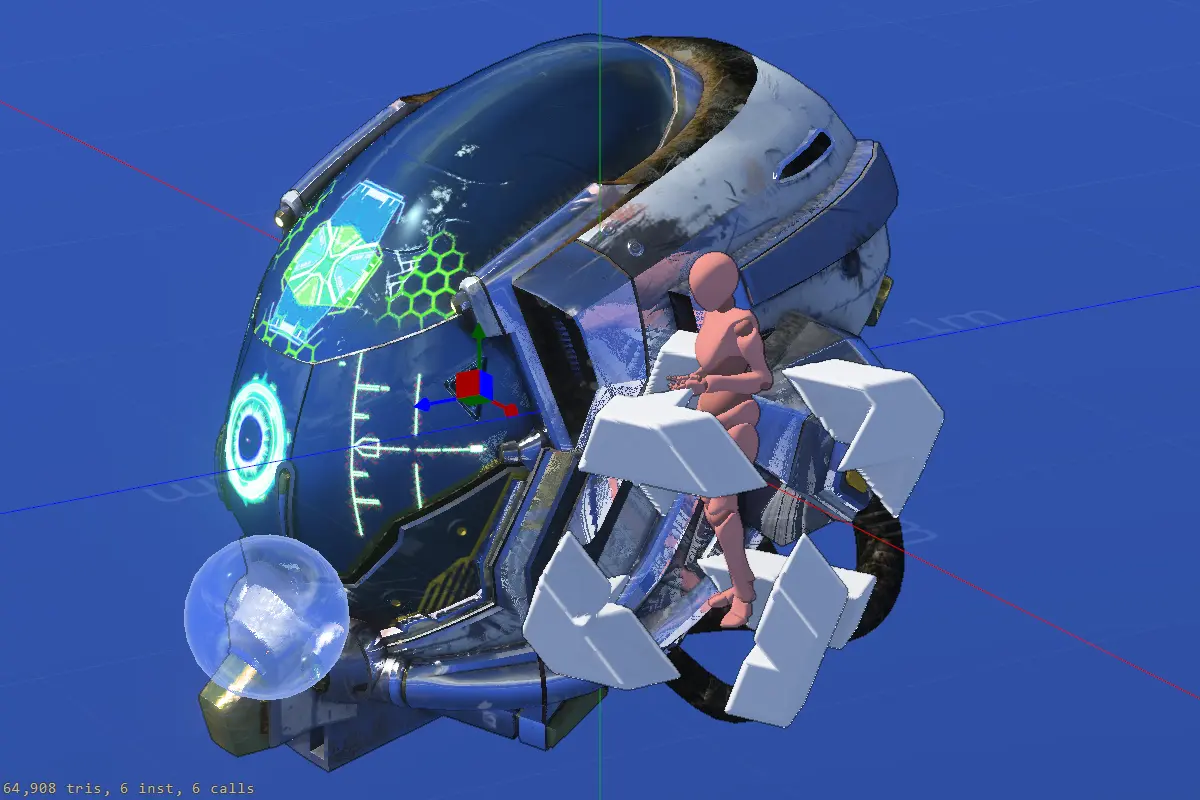
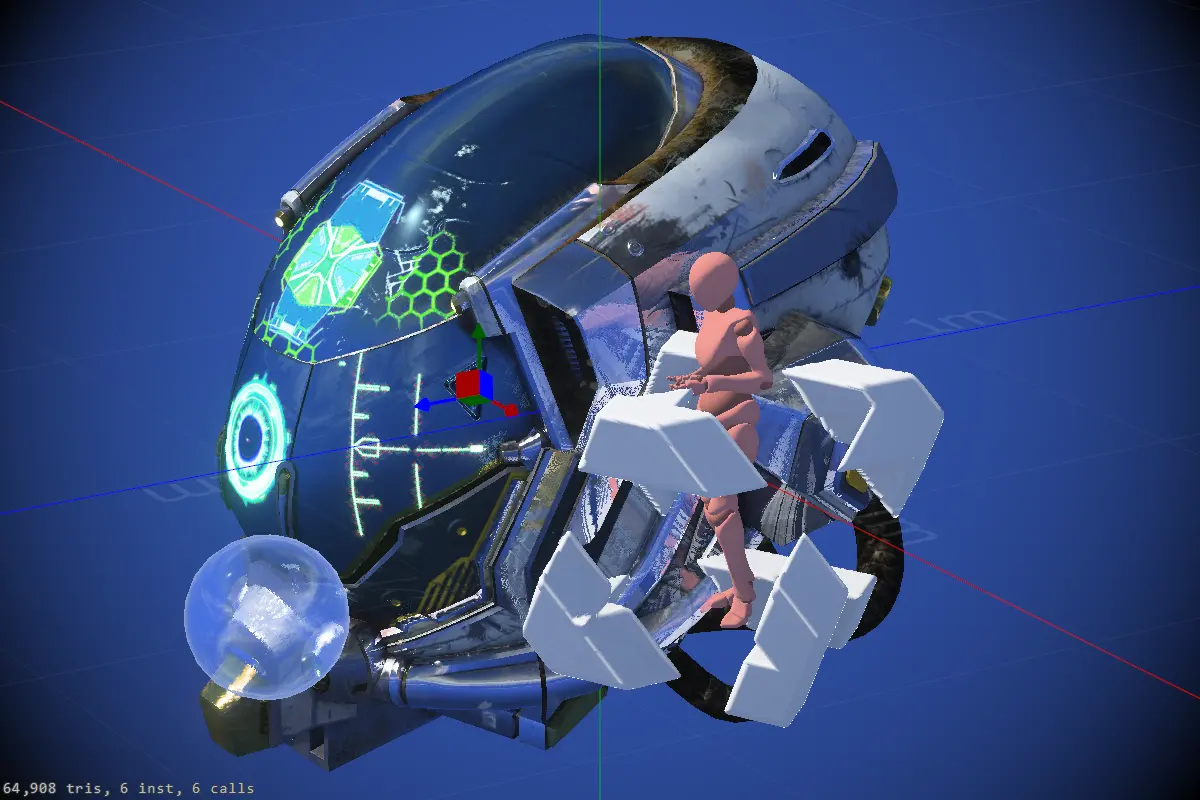
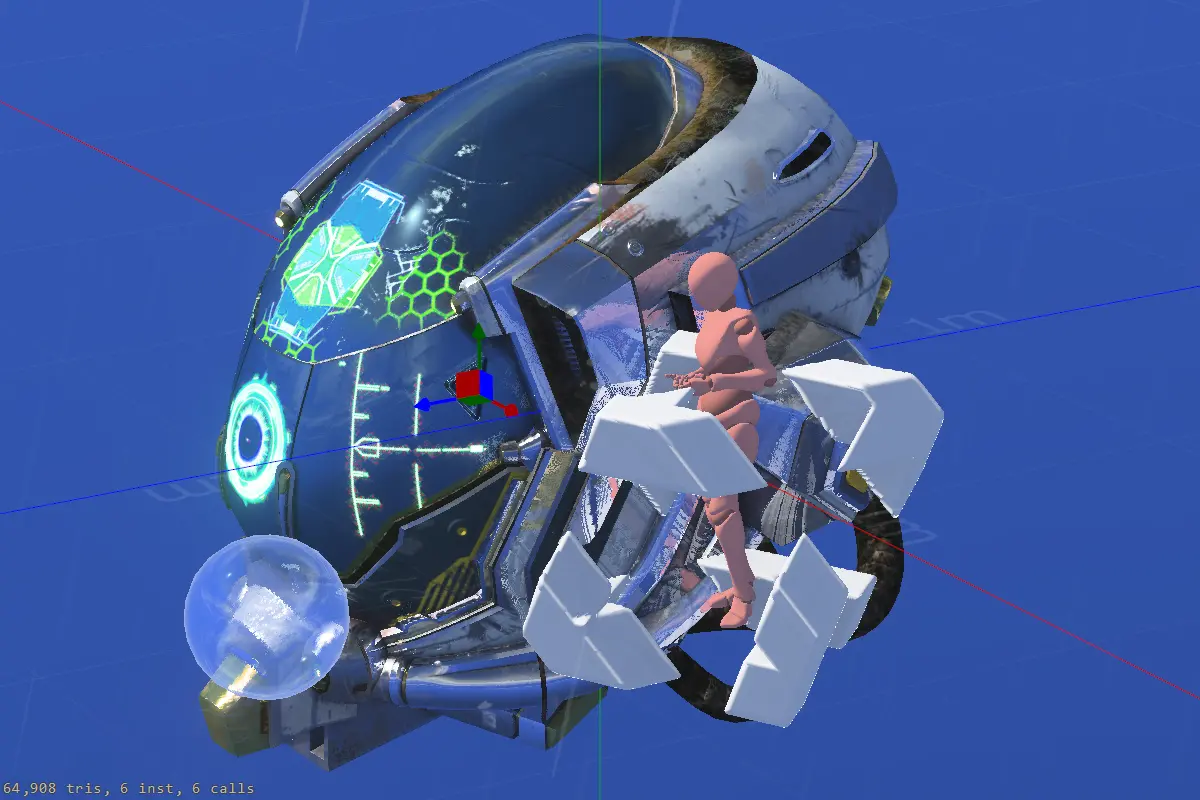
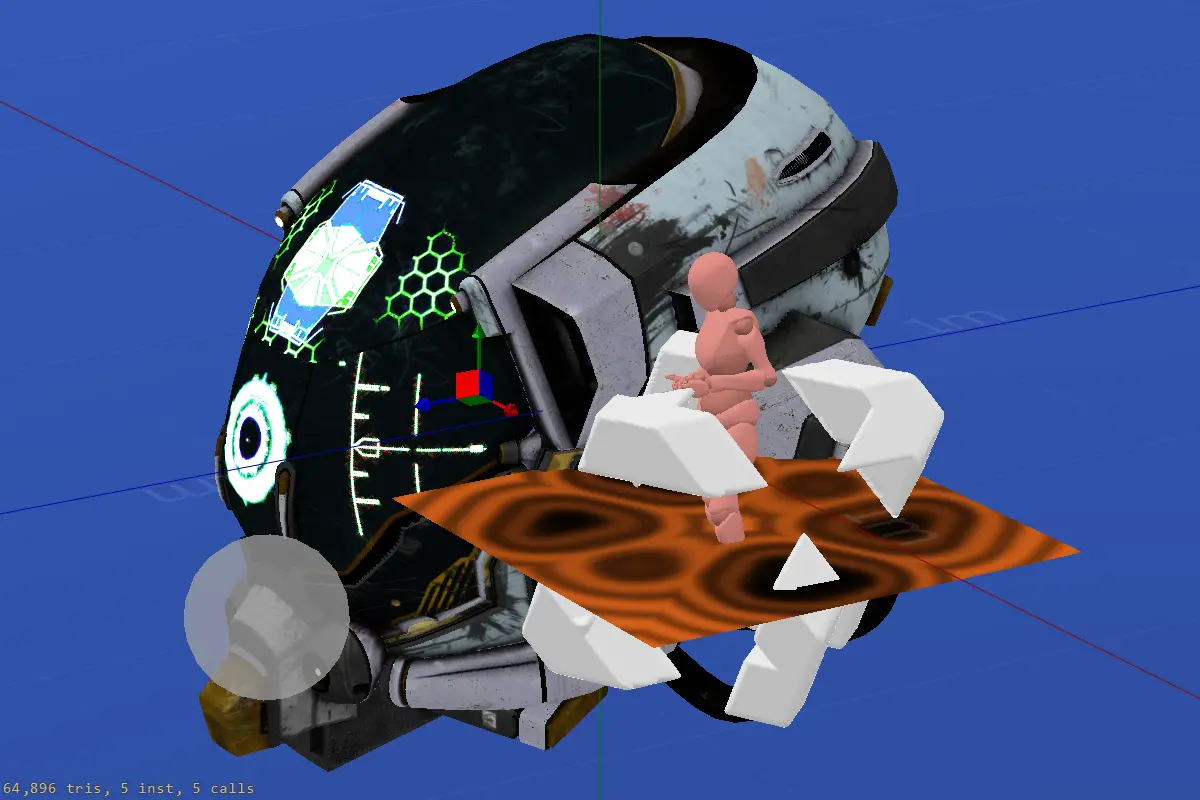
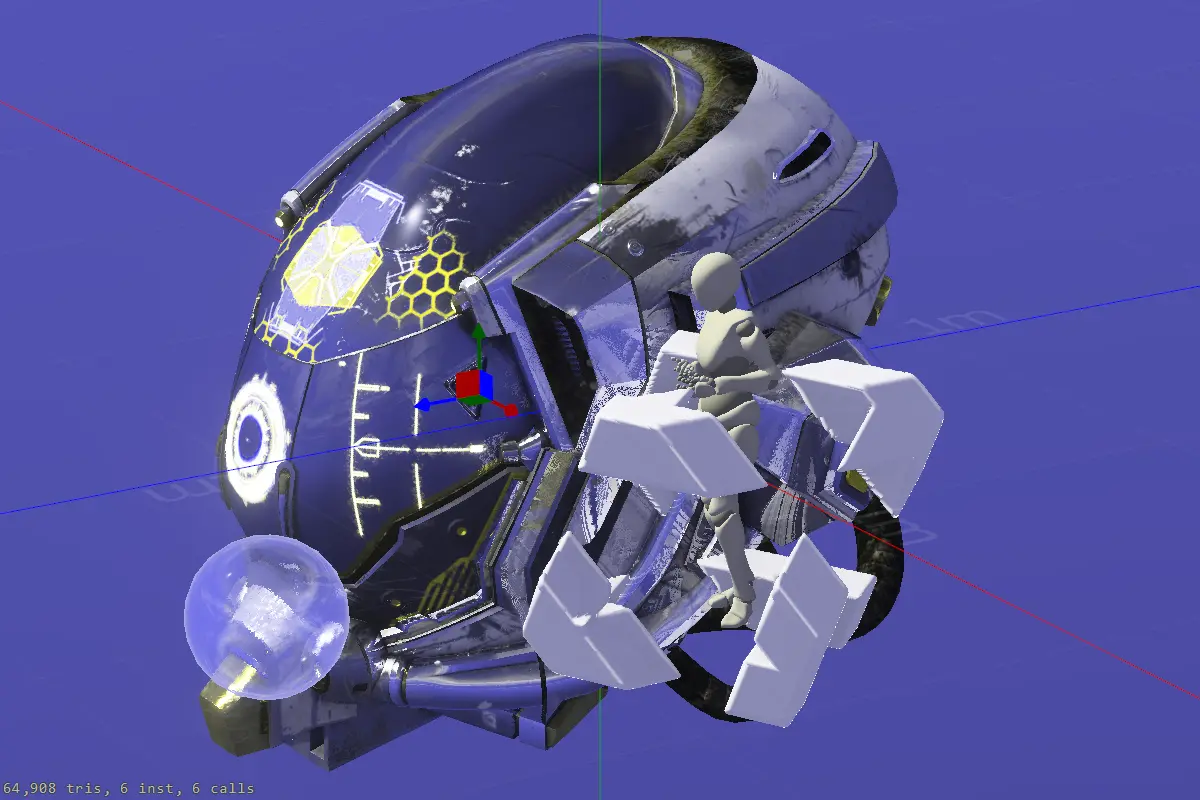
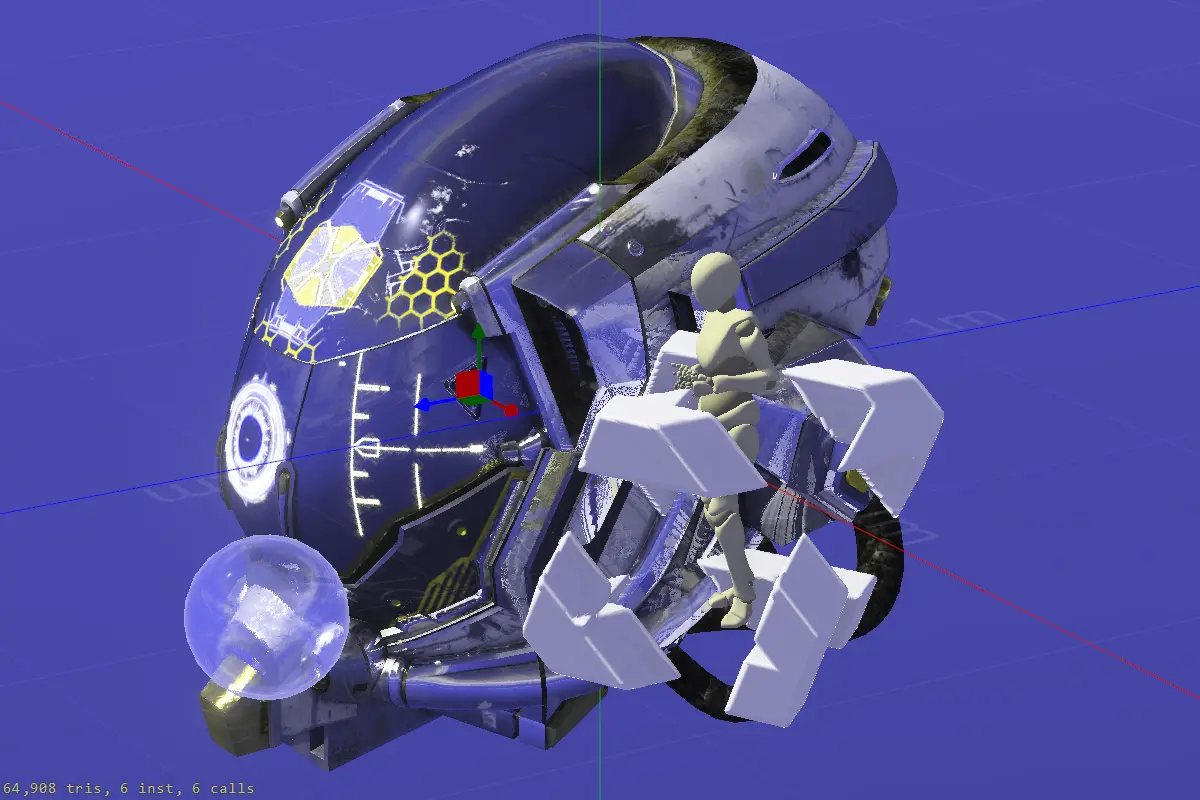
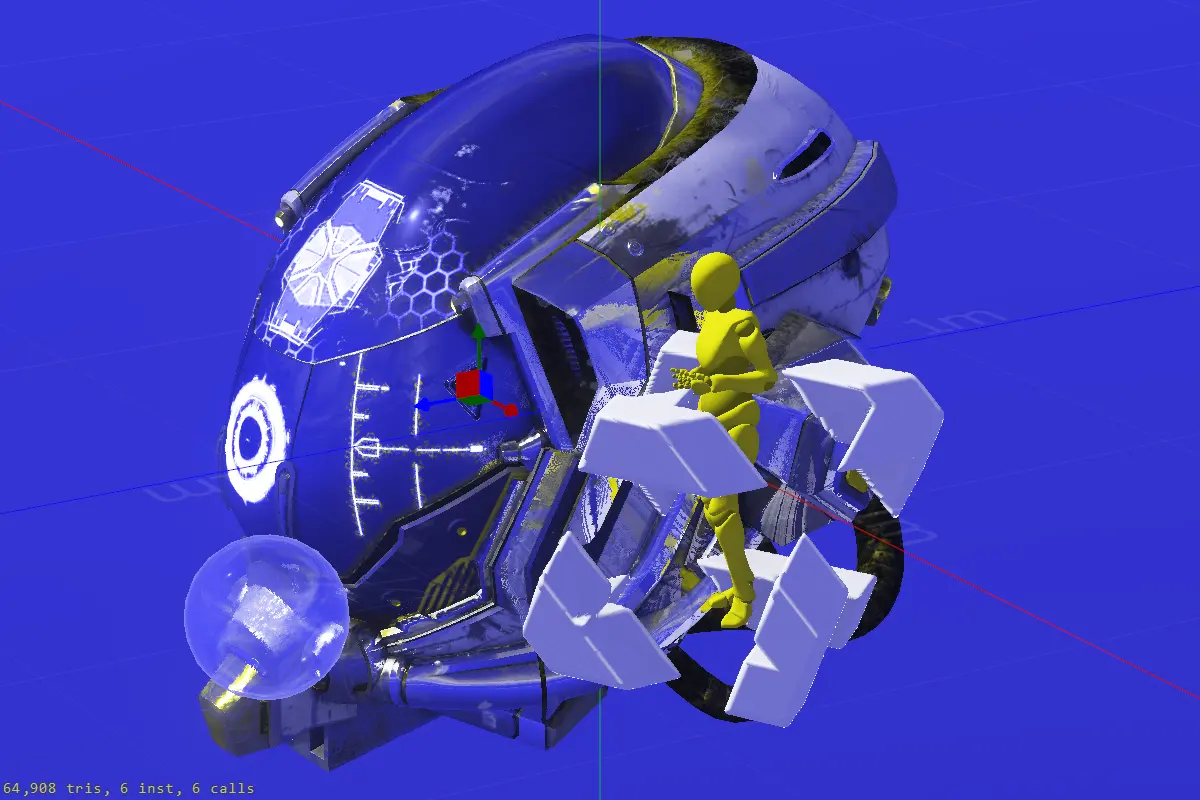
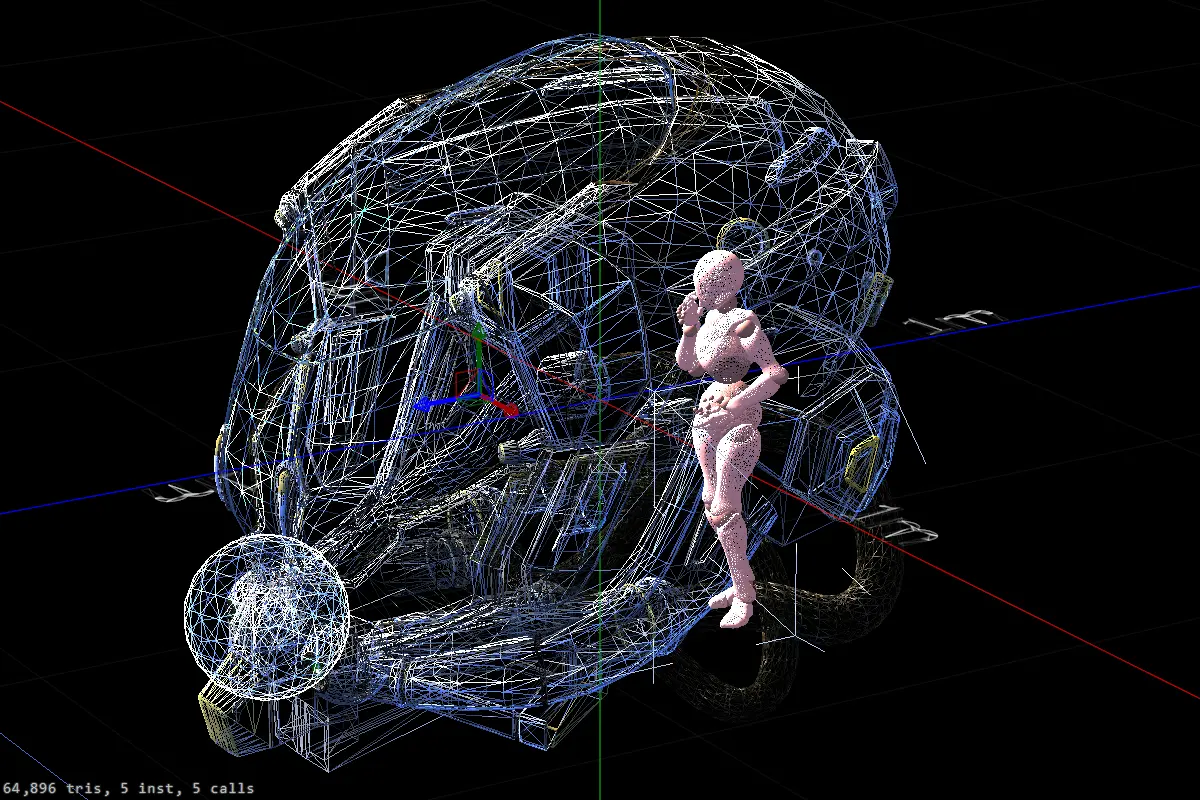
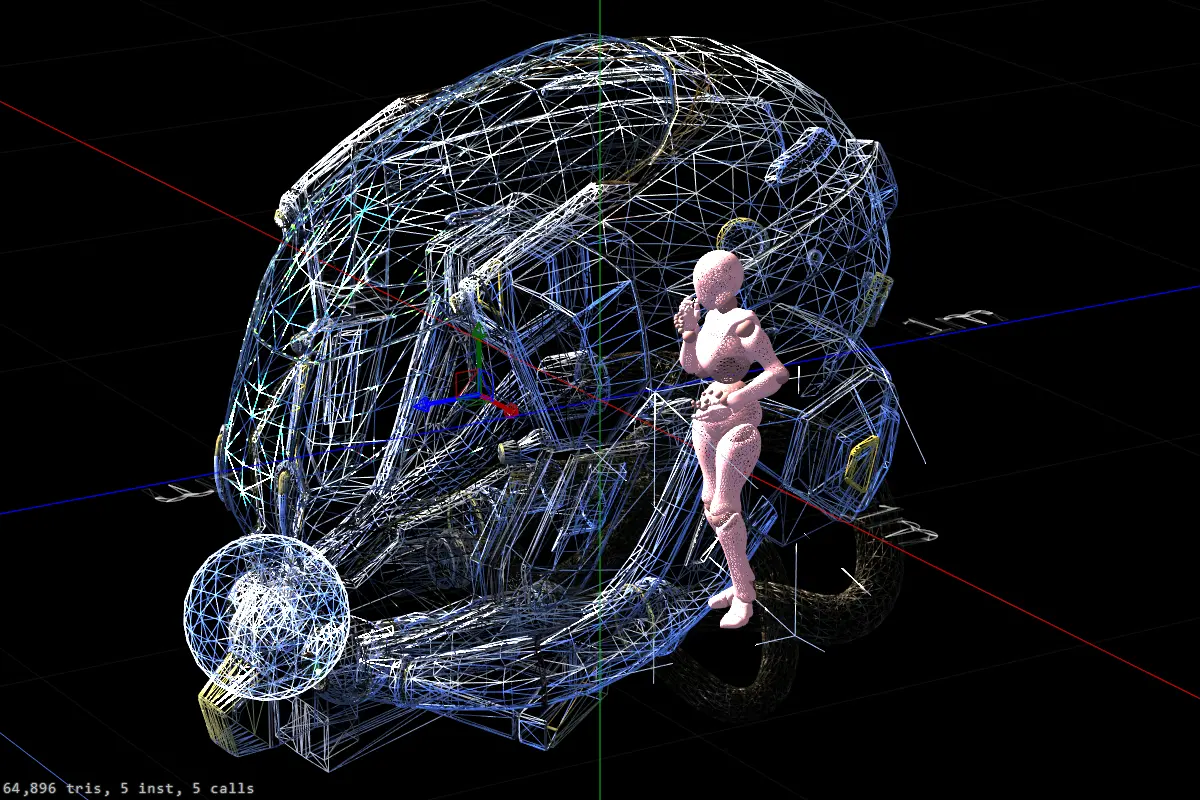
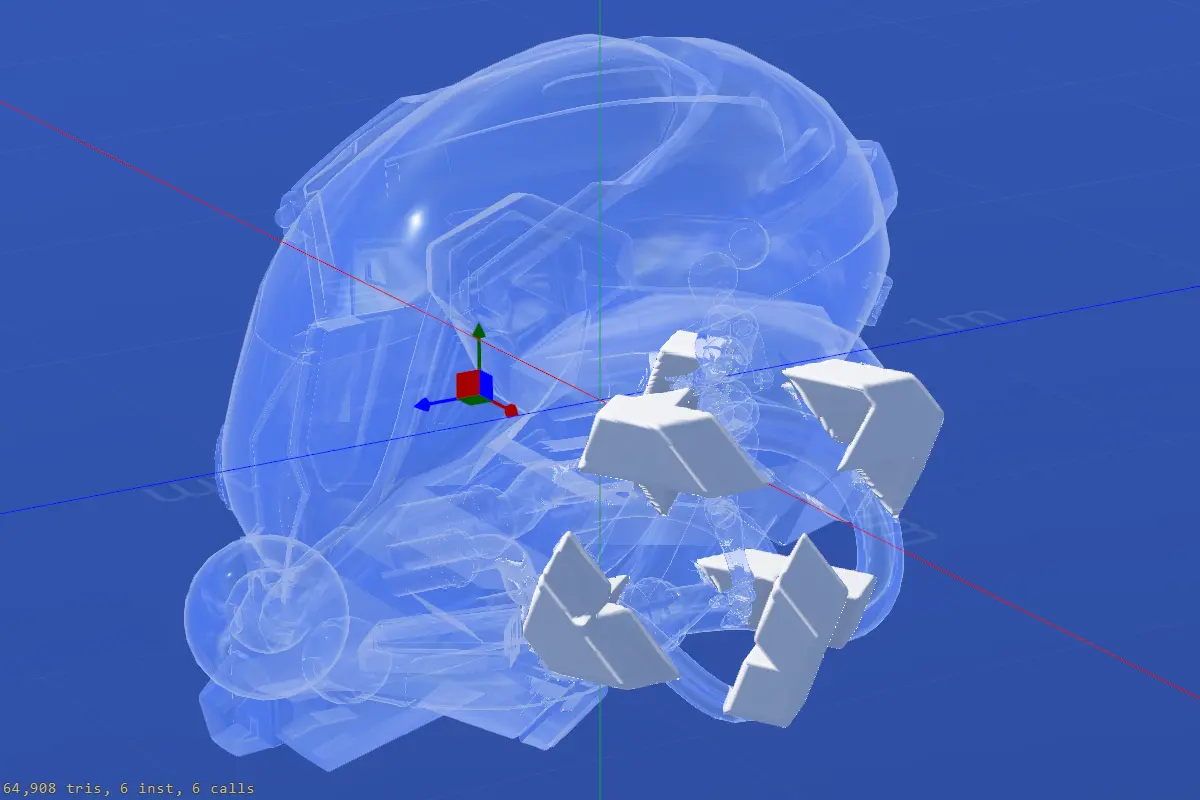
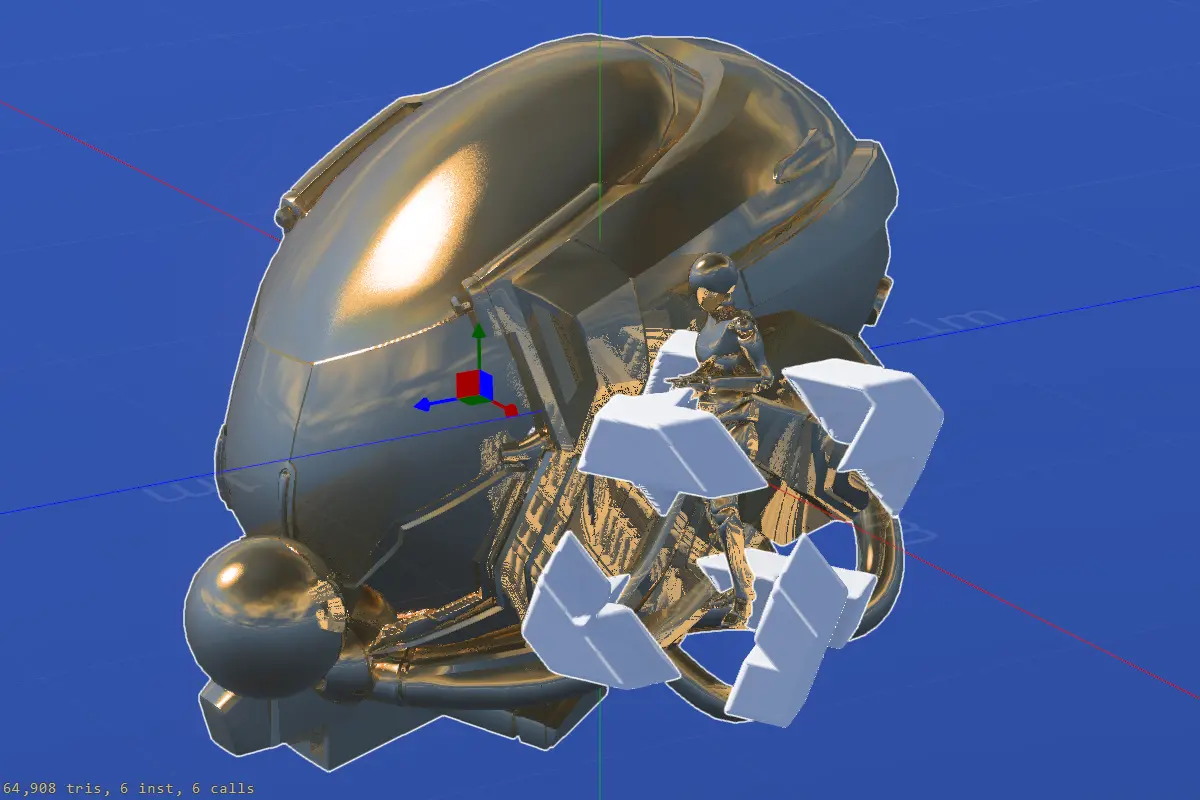
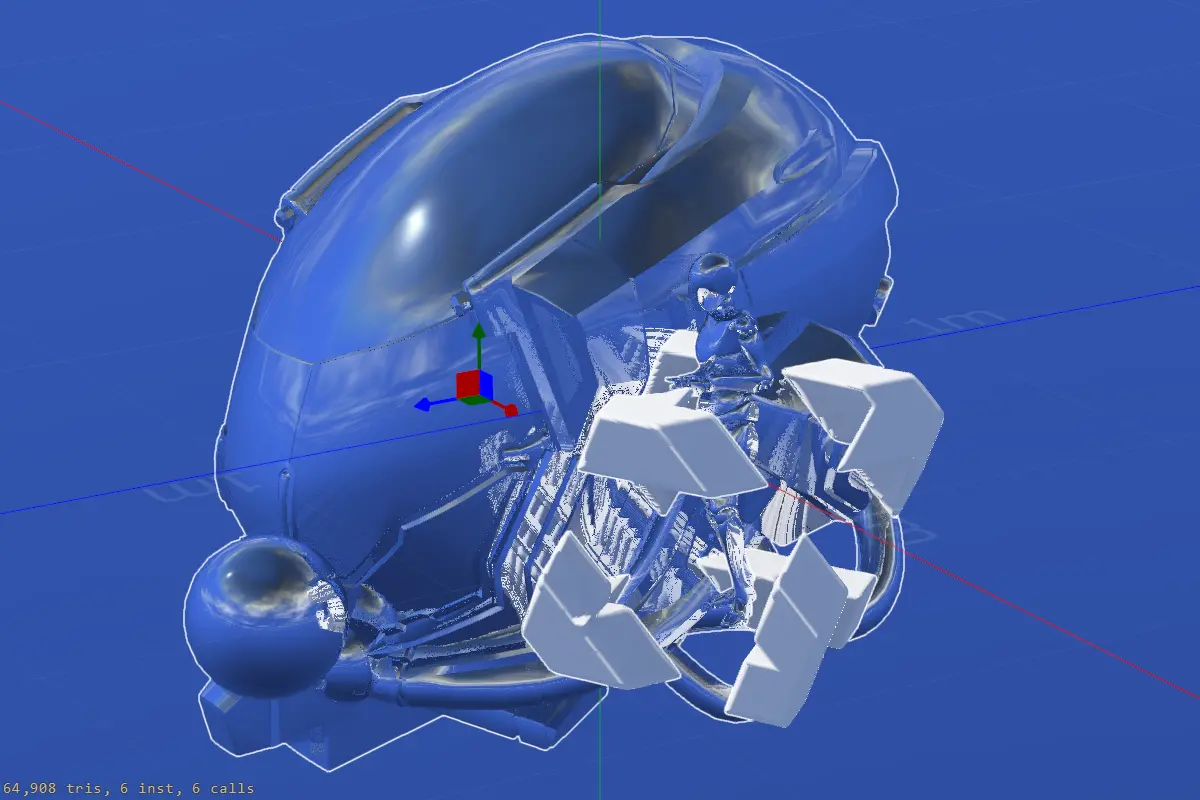
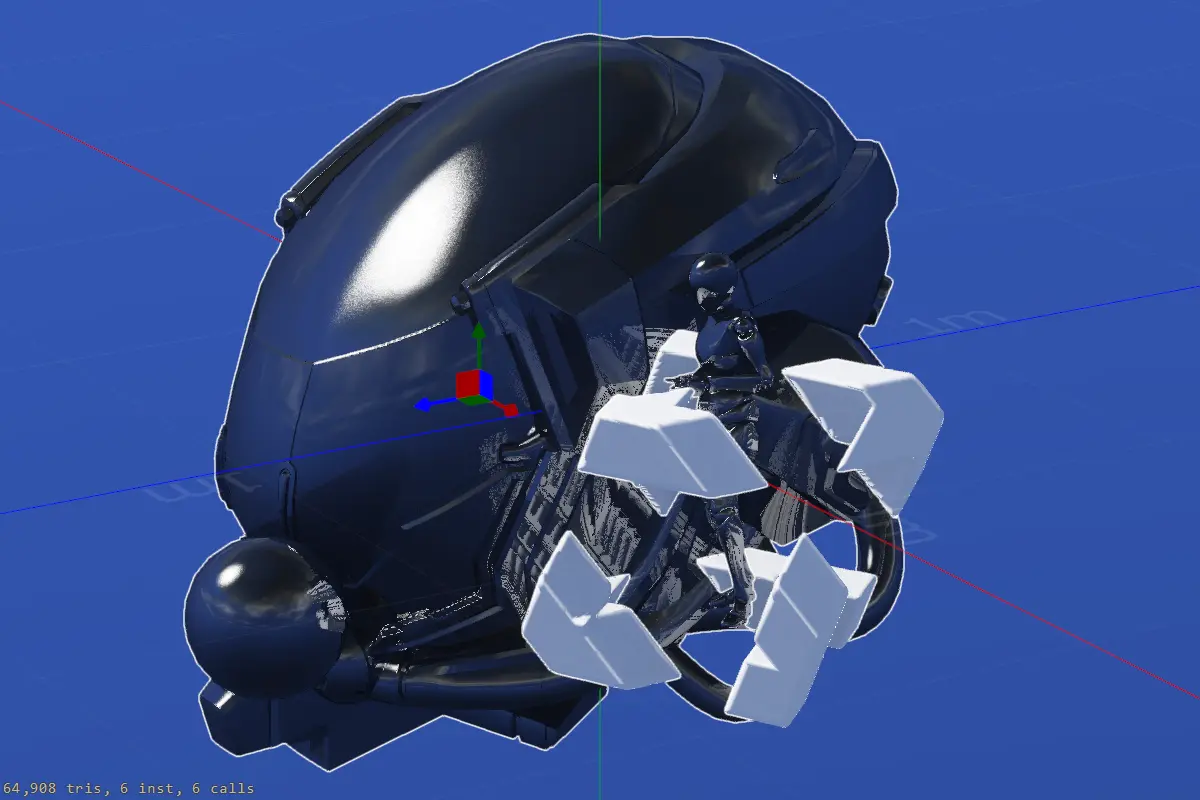
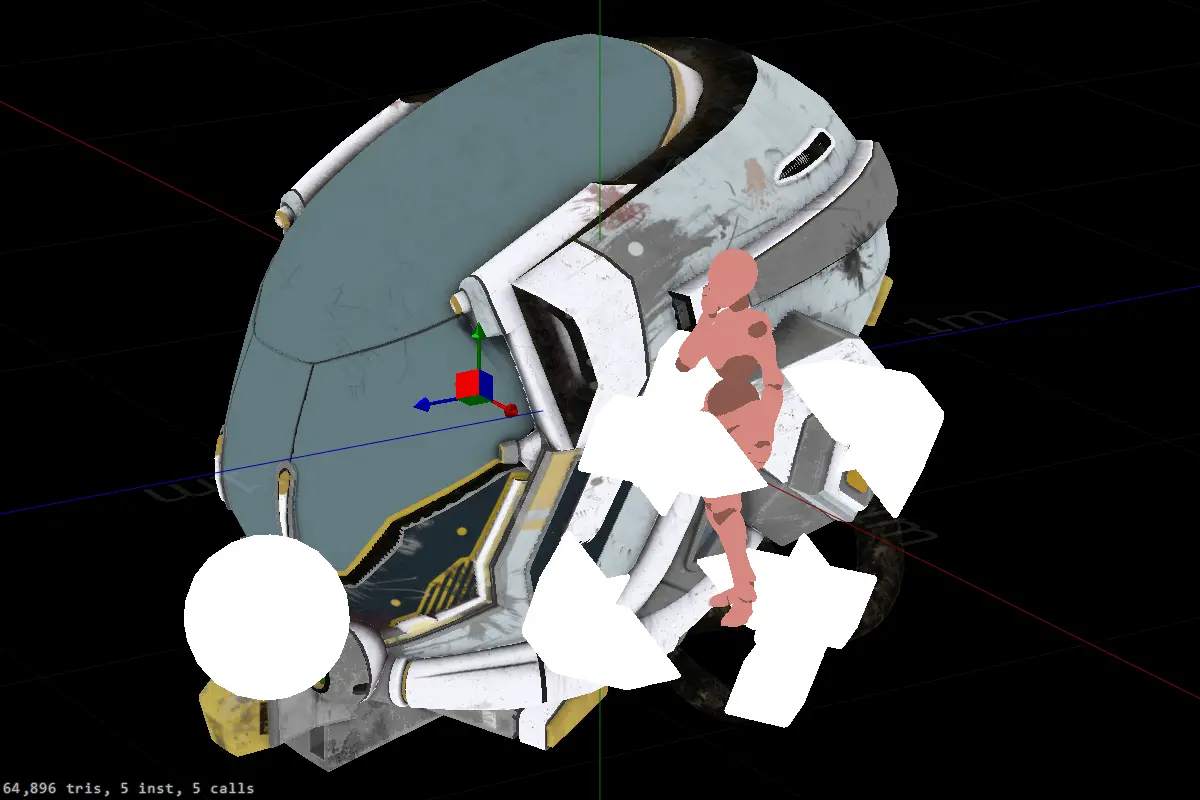
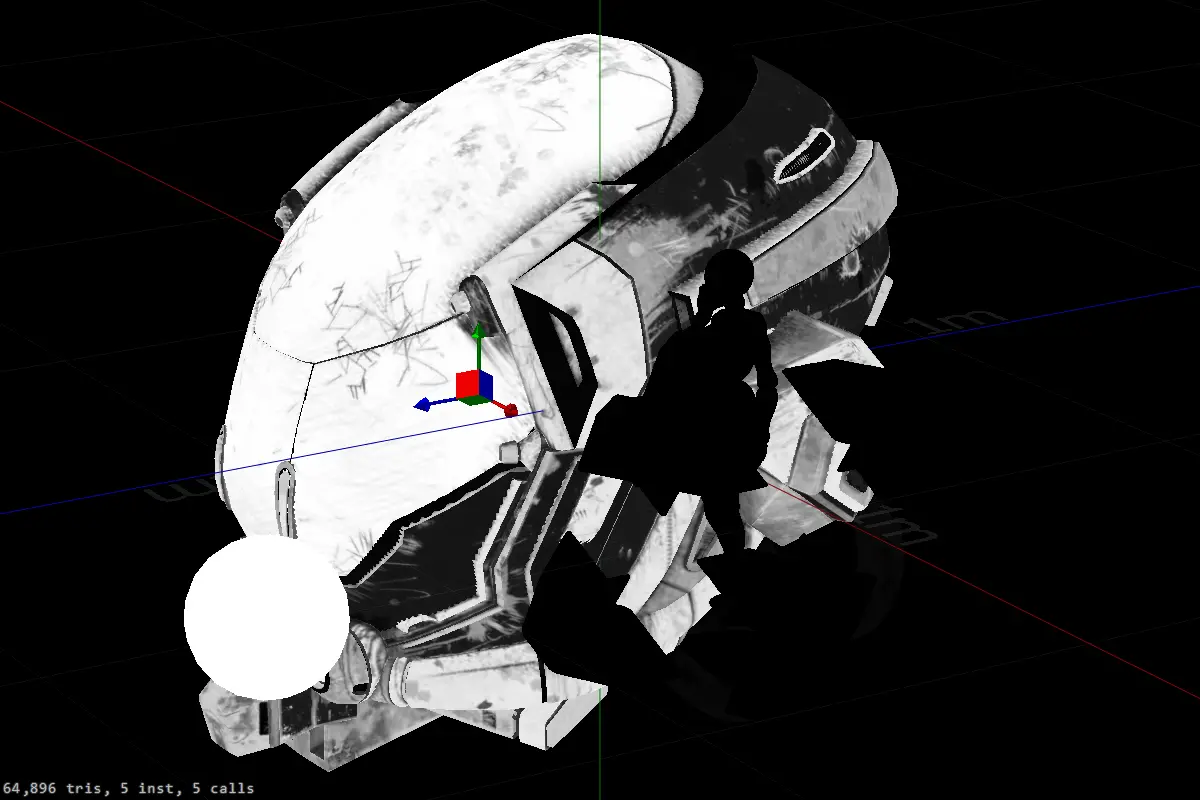
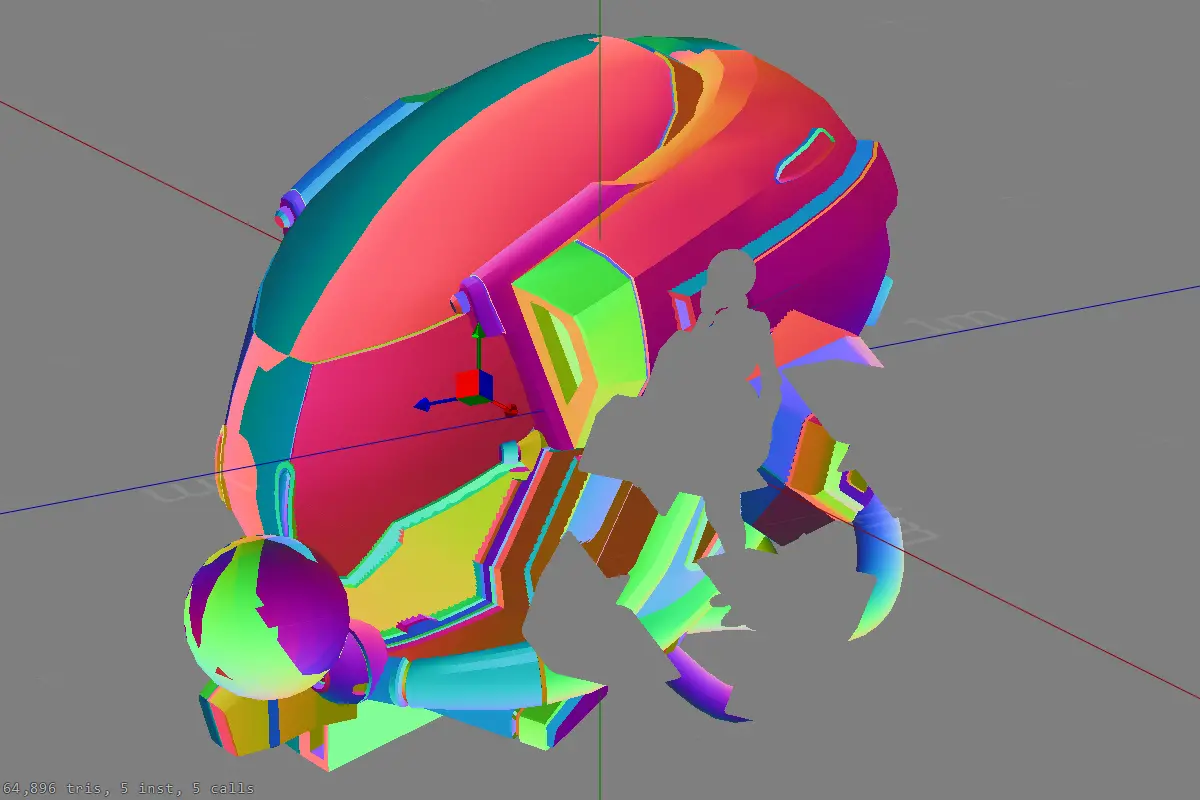
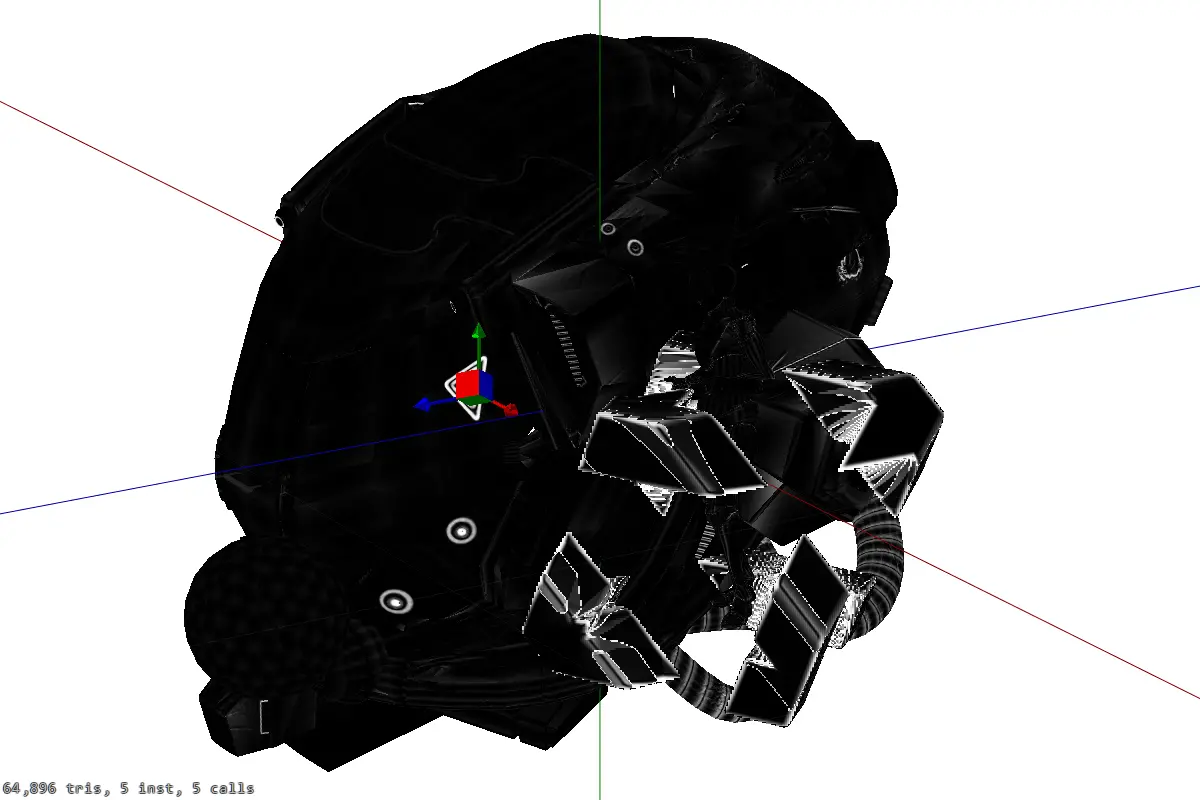
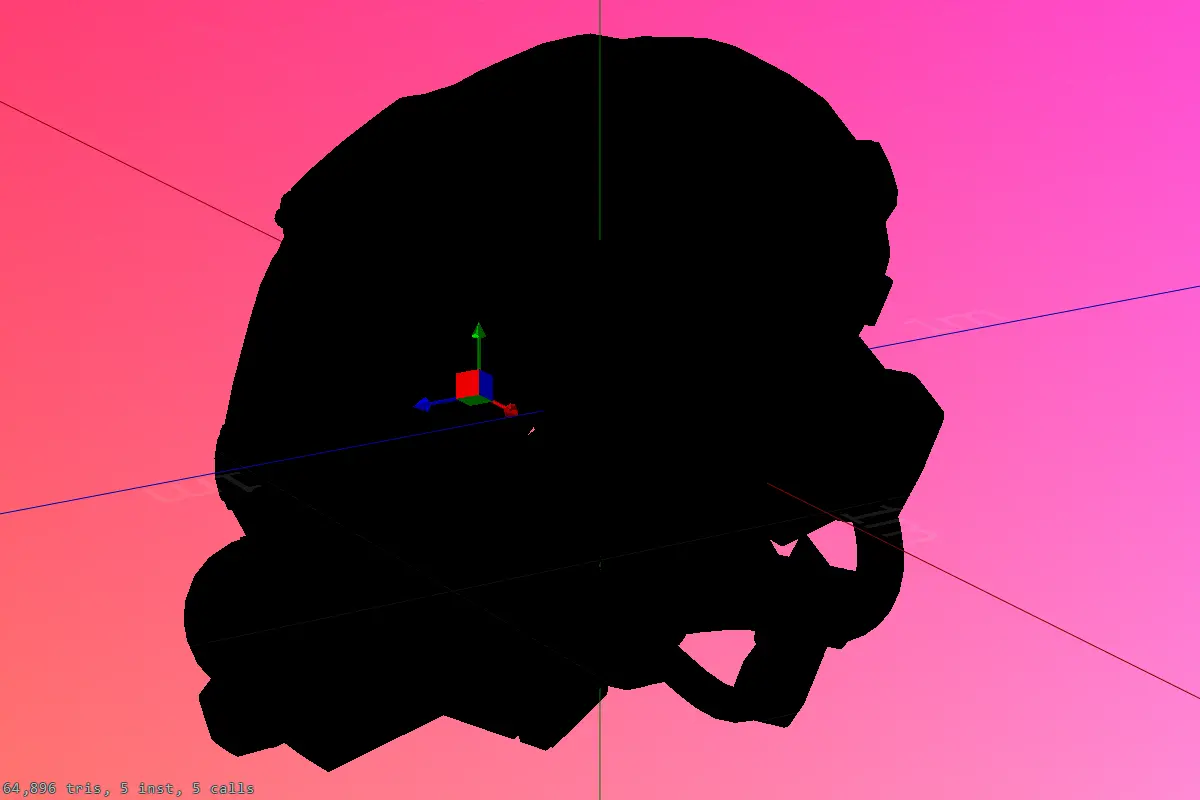
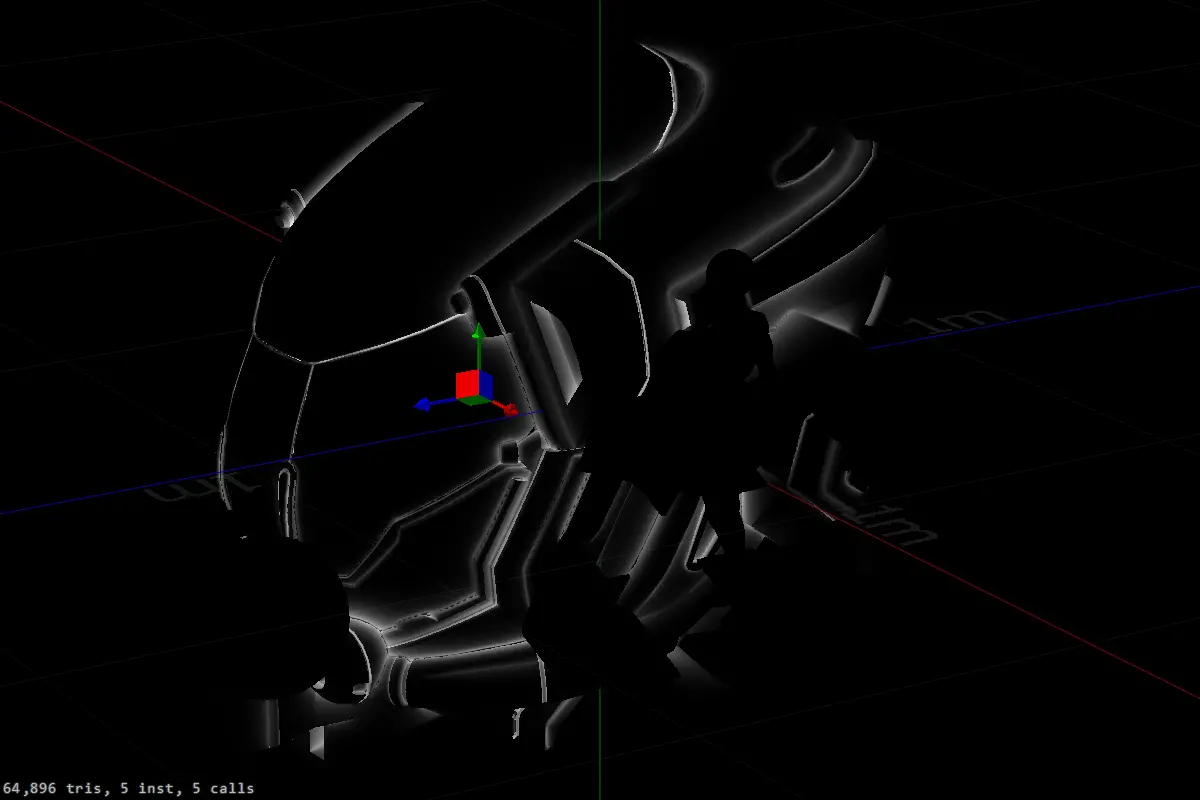
The following images all render the same scene. It contains a glass icosphere, a SDFHyperBoundingBox (edges of a cube in 4D), the DamagedHelmet sample mesh, and a Mixamo sample mesh with "Talking on Phone" animation. Transparency is rendered using the "GlassPass", which is based on a custom order-independent-transparency algorithm.
Sample scene: sphere, helmet, hyper boundingbox, and woman on her phone.
Material Override
You can find the material-override in the scene settings. It replaces the material on all meshes, where there is no special shader assigned, which could change the rendered shape.
The following super materials exist in Rem's Engine out of the box:
Glass, color #ffffff, metallic 1.0, roughness 0.0, pipeline: TRANSPARENTGolden, color #f5ba6c, metallic 1.0, roughness 0.2Silver, color #e5e5e5, metallic 1.0, roughness 0.0Steel, color #4c4c4c, metallic 1.0, roughness 0.2White Diffuse, color #ffffff, metallic 0.0, roughness 1.0
Renderer-based
Renderers can define post-processing stages, as a final processing step. These are used e.g., for rendering basic material properties like metallic, roughness, sheen and such. Forward-rendering kind of uses a complex render mode, too.
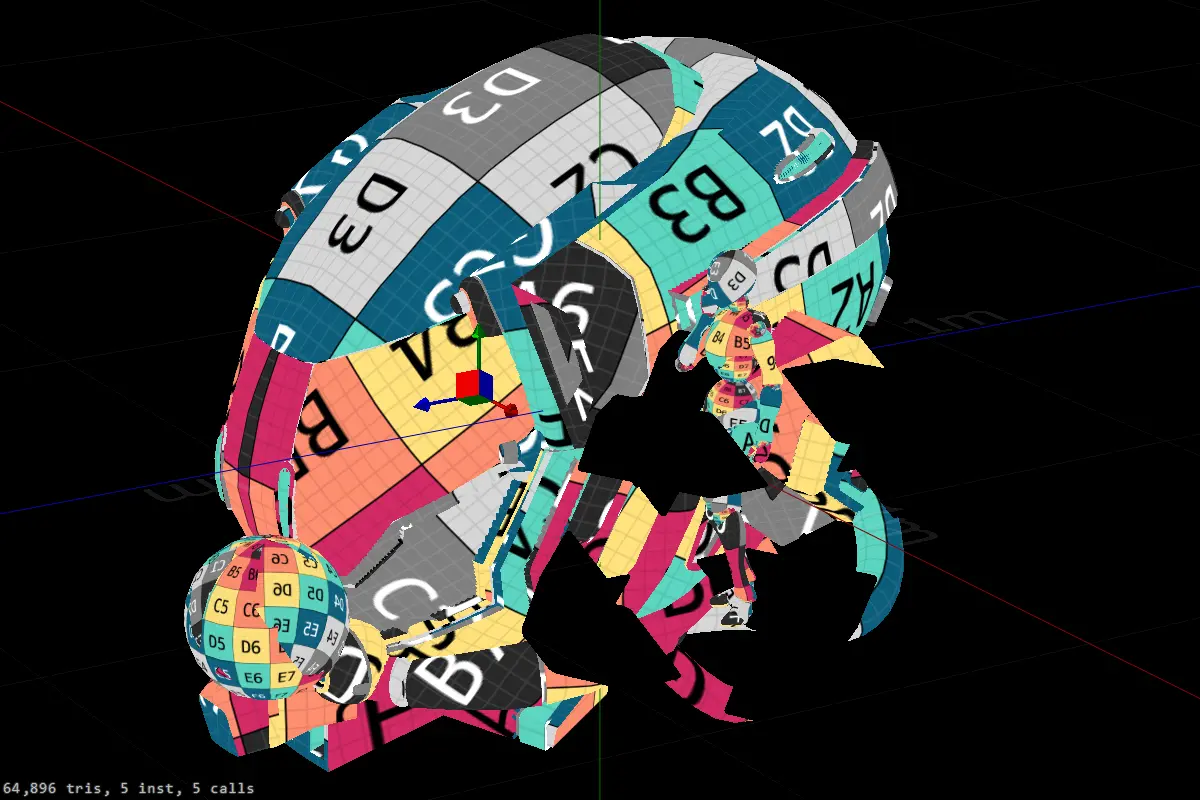
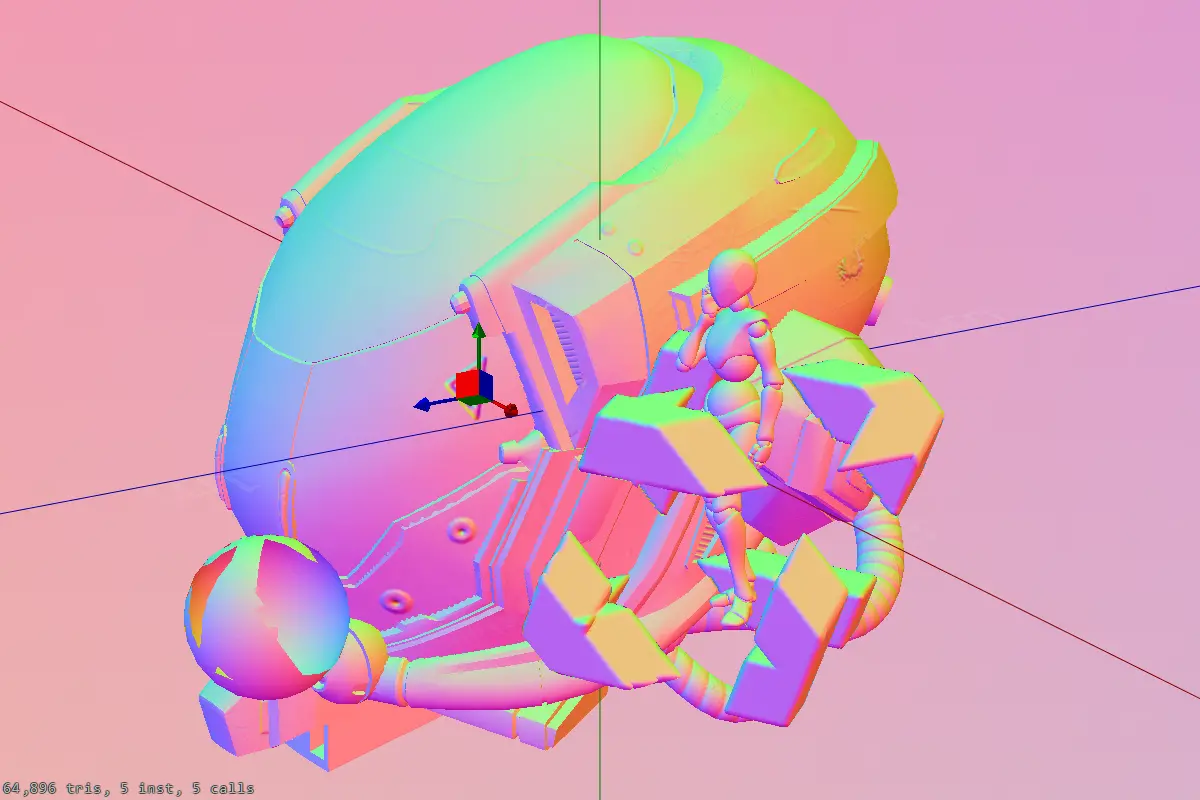
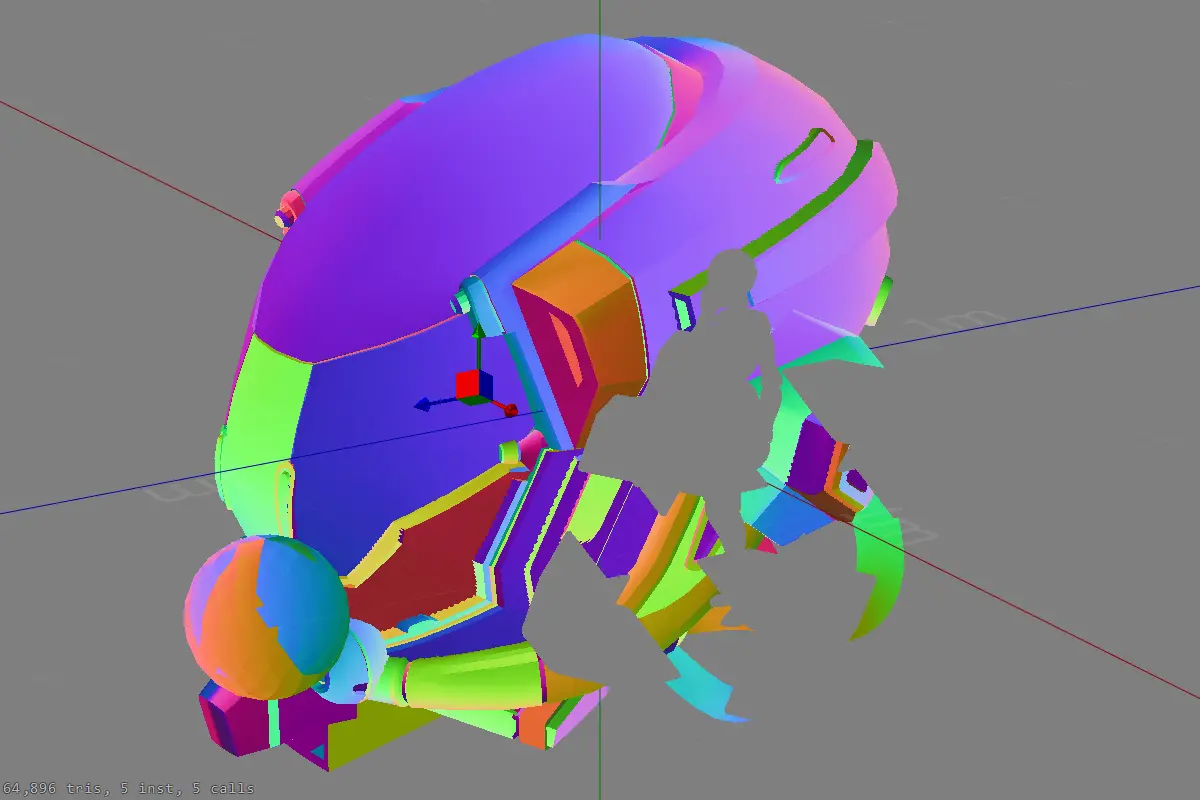
The following attribute-rendering RenderModes exist in Rem's Engine by default for debugging:
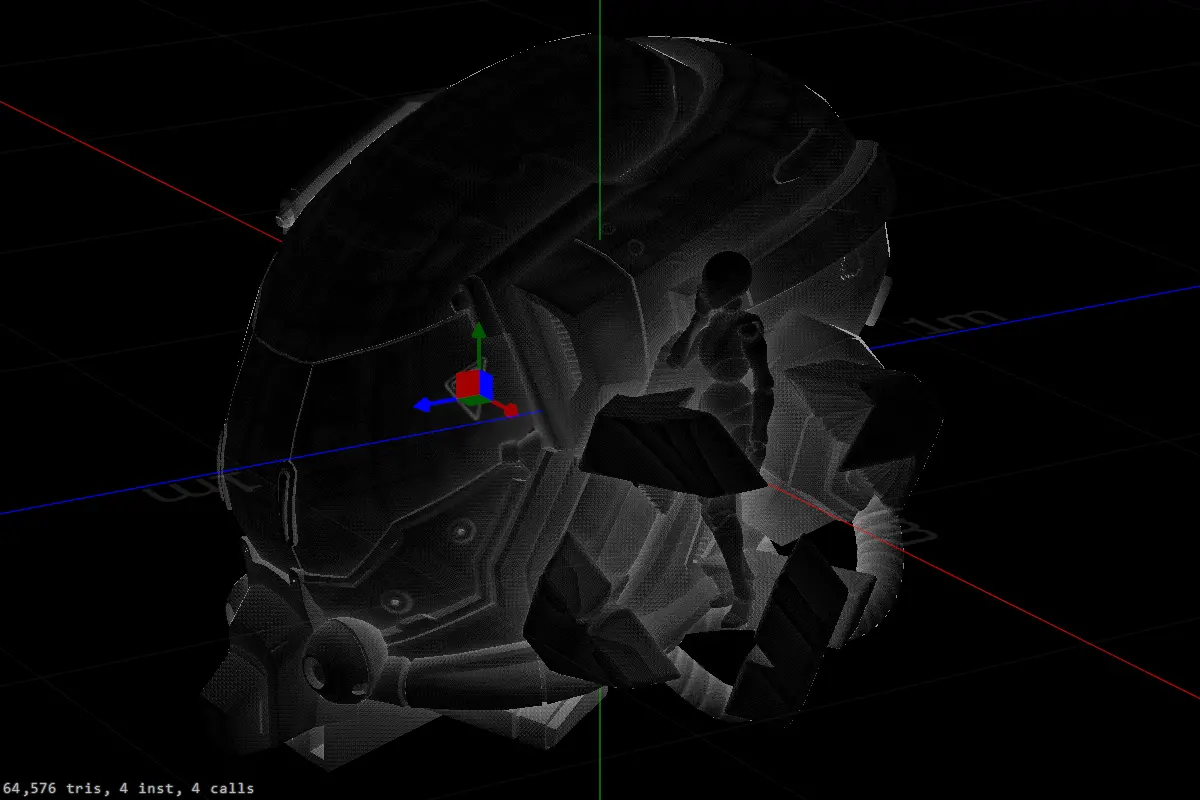
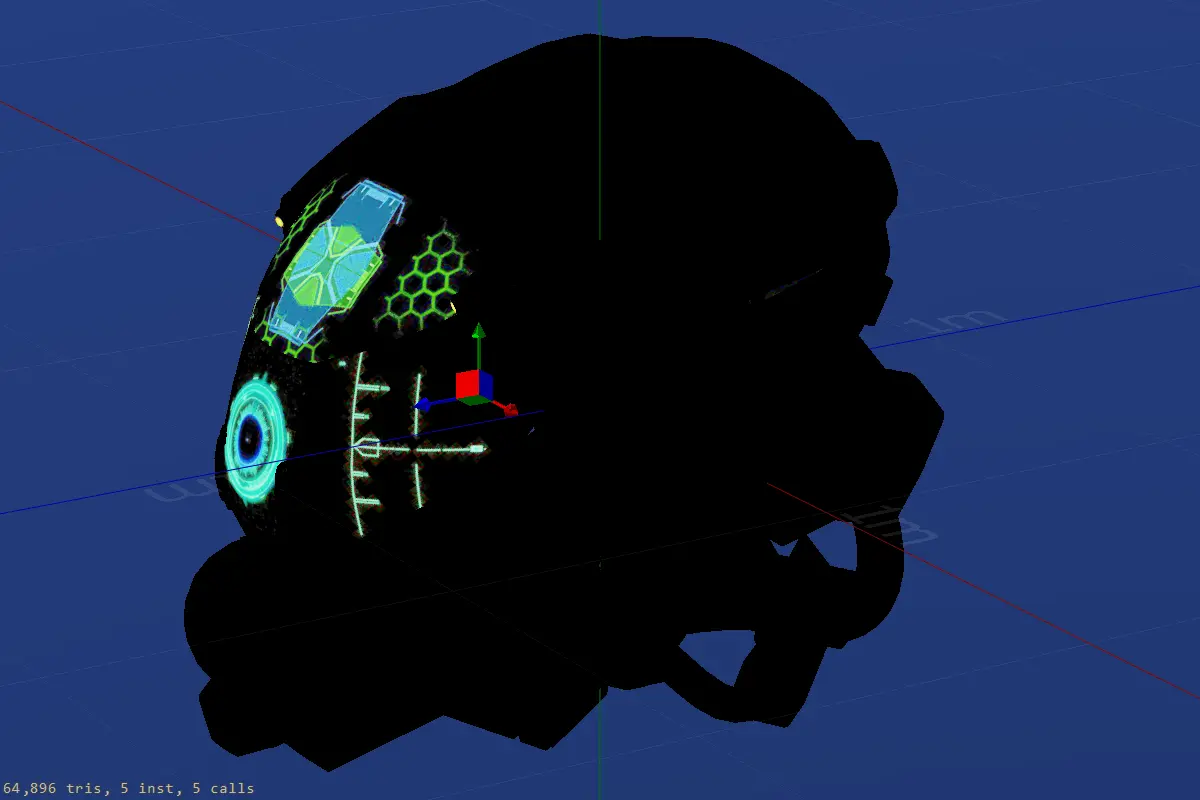
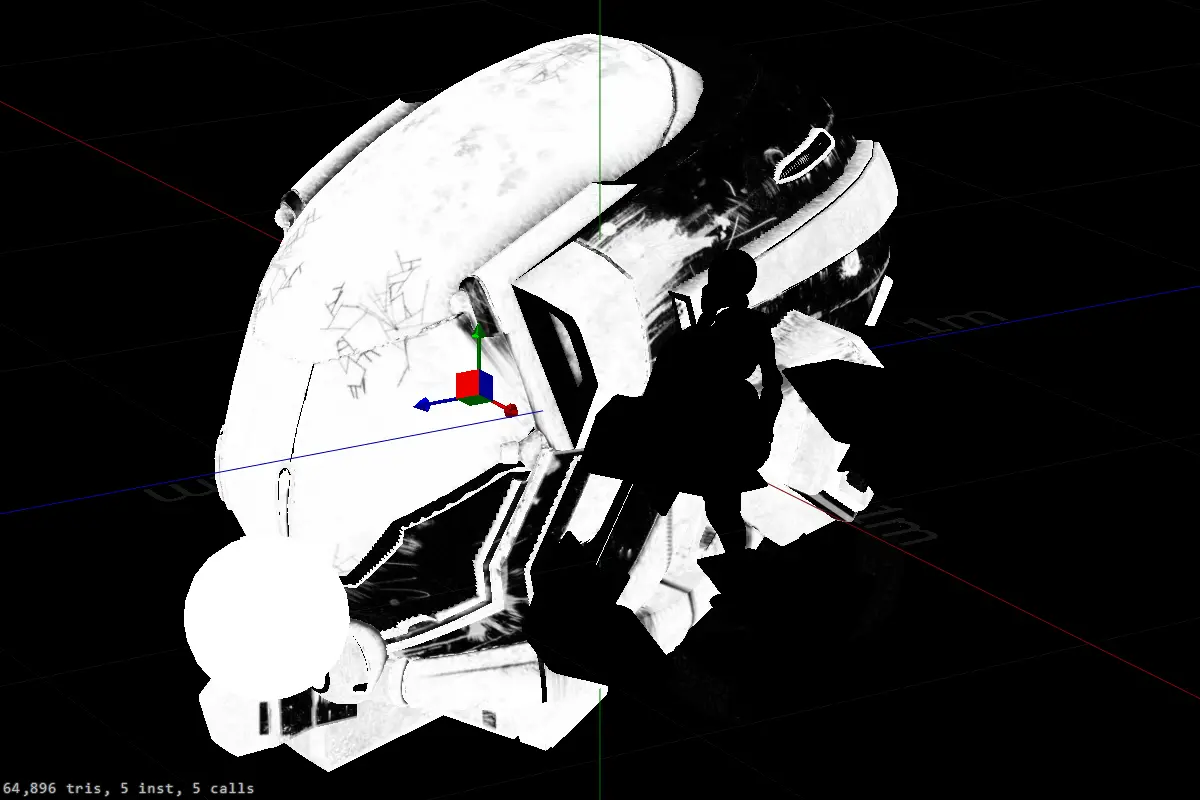
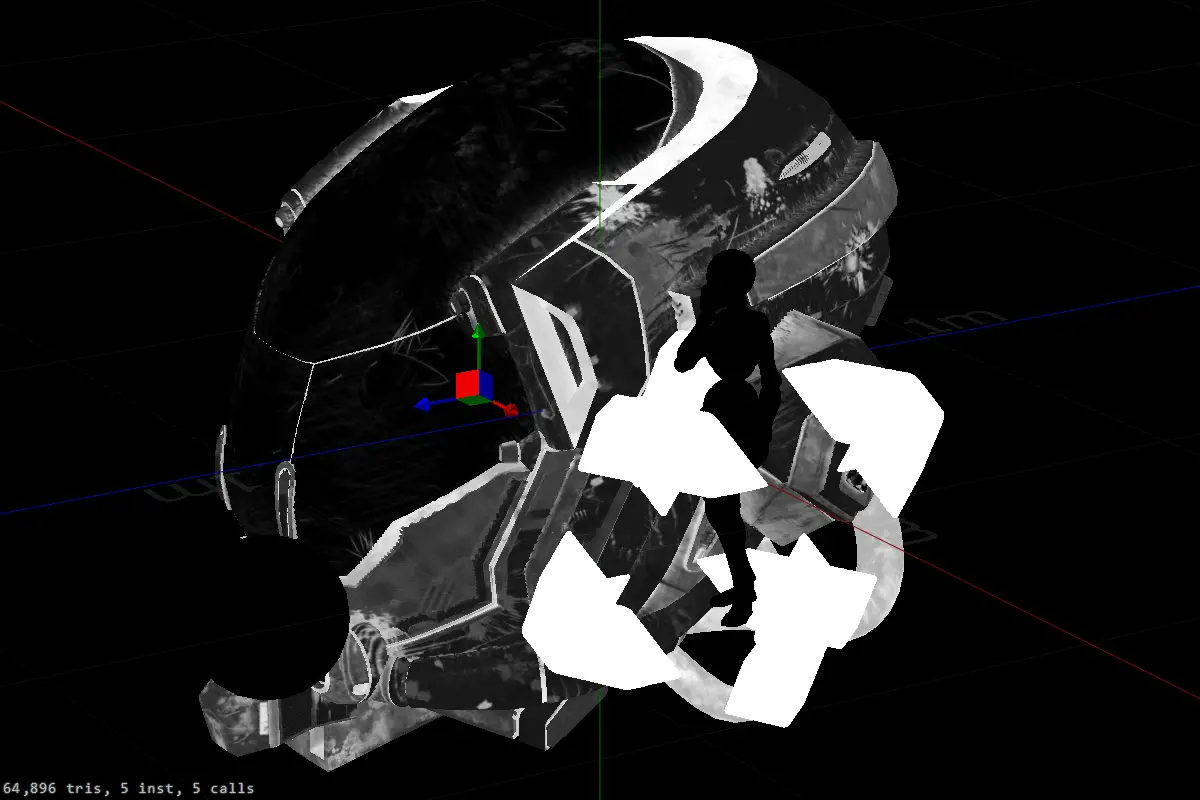
Color: diffuse color, sometimes called albedo, e.g., brown-beige for wood, or light green for grass.Emissive: self-coloring without external light sourcesMetallic: how metallic something is, 1 = white = metallic, 0 = black = diffuse/plastic/paper.Roughness: how rough the surface is, 1 = white = very rough, 0 = black = smooth like a mirror.Reflectivity, which is mix(0.1, 1.0, roughness) * metallic, as a way to save bandwidth in deferred rendering.Opacity (Alpha), how transparent things are. If the value is 0, the pixel gets discarded. Used for dithering shadow maps.UVs: texture coordinates, so where to read the current diffuse color, emissive, and normal maps from.Normals: the direction of the surface. Should always be well-defined and normalized.Tangent: UV-x-direction in world-space. Used for normal mapping. This is gray, if there isn't any UVs.Bitangent: UV-y-direction in world-space. Used for normal mapping. This is gray, if there isn't any UVs.If you think your normals or depth might be wrong, check "Diff From Normal": this shows the difference between calculated normals, and normals by geometry. If your normals are correct, the image will be black.Depth Test: uses the depth to calculate the fractional positions in the scene: when viewing a static mesh, you should see a stationary, regular, axis-aligned grid, which keeps its color independent of camera angle and position. If your depth-calculation is incorrect, the grid will move, curve and stretch.
The following RenderModes are less often useful:
Position in world-scaled world-space. May be useful for debugging.Translucency, or one minus how much directionality(normals) affect lighting.Some meshes have baked ambient occlusion for fine details. Black = normal, white = occluded. White sections will be darkened.Motion vectors: how much each pixel moved in UV-coordinates from the previous frame to this one. Gray = pixel didn't move. This is framerate dependent, so ideally use a locked framerate (using VSync) when debugging this. When rotating your camera, the objects in front of you should have different motion vectors than the sky.ClickIds, random: when clicking something, it can be resolved either on the CPU or the GPU. For click-resolving on the GPU, each mesh gets assigned a random ID, which then can be read out.Draw Call ID (Random): randomized color for each draw call. Each draw call has overhead, so you should keep the number of draw calls small.FrontBack: front-triangles are shown in blue, back sides in red. Only front-sides are rendered by default, so try to create meshes with correct triangle order. Back sides can be culled on the GPU, so they can save lots of processing power.
The next two modes are for debugging skeletal animations:
Bone Indices: each bone/joint gets assigned a random color, then they are displayed by weighting all contributing bones. Meshes without skeletal animations will be shown as black.Since the first bone typically is contributing most, the skeletal meshes will be shown as mostly red, and intermediate areas as green-ish. Meshes without skeletal animations will be shown as black.
RenderGraph-based
These give the most control by running a graph-defined sequence of processing steps, e.g., first Deferred-rendering of all opaque geometry, then forward-rendering all transparent geometry, and finally applying depth-of-field and FXAA.
Default rendering modes
Firstly, here's a list of all standard rendering modes, so forward and deferred, and with a single sample per pixel or multiples (MSAA).
The default rendering mode is deferred rendering without MSAA.MSAA Deferred: This mode is what many believe to be impossible. Actually, it's just quite expensive to compute. Has nice, smooth edges.Forward rendering: For less powerful devices, reducing used memory bandwidth is critical for achieving acceptable performance.MSAA Forward: gives nice smooth edges at maybe-not-THAT-bad performance. Too heavy for most phones though.
Next is a list of modes for debugging rendering:
SSAO: Screen-space ambient occlusion.SSAO MSAAx8: Screen-space ambient occlusion when using multi-samplingSS-Reflections: Screen-space reflections, so when a to-be-reflected objects becomes invisible in the primary view, it also becomes invisible in these reflections. They are pretty heavy to compute, so best use them only on desktop.SSGI: an experiment to implement screen-space global illumination. The result is much too subtle to justify the cost.Triangle Size: very small triangles are shown red, small triangles blue, overdraw is shown in green.Show Triangles: each triangle is assigned a random color, so you can inspect whether your geometry generation is correct.Light Count: how many light sources illuminate each pixel (here just one).Light Sum: how much light is collected on each pixel, summed over all light sources; used in forward- and deferred rendering, but deferred is unlimited, and forward is limited to something like 16 light sources.Light Sum MSAAx8: Light sum for deferred rendering with multi-sampling.
Post-Processing Nodes
This section shows a few specialized post-processing nodes, which can be used in Rem's Engine:
Without Post-Processing: first the scene completely without any post-processing steps.Post-Outline: this draws an outline around objects, and can draw over them, too. By default, this is used when selecting objects (only the outline, not inside)TAA: Temporal Anti-Aliasing: uses camera-shaking then the camera is stationary to calculate anti-aliasing (smooth edges). Might result in ghosting, and is hated by some gamers, so you should ALWAYS make this configurable.Motion Blur: This smears over regions with lots of motion, which may compensate for 30-ish FPS. Can give illusion of speed (use more than just this effect for the illusion of speed, e.g., dynamic FOV). Is hated by some gamers, so you should ALWAYS make this configurable.Depth Of Field: blurs areas, which are not in focus.Smooth Normals: blurs normals (edges) before calculating lighting, e.g., used by Teardown.Fog Test: renders exponential height-fog and distance-fog.Night Test: renders the scene as if it was night. Hide the sun, if you want to use this as a cheap night-hack xD.Anime Outlines: draws a black outline over all edges by depth and normal.Vignette: darkens the corners, like in cameras before their post-processing.Pixelation: reduces rendering resolution, and draws near-edges lighter, and far-edges darker (curvature).SnowRain, just a variation of snow ^^
Signed Distance Field Debugging
SDFs can be tricky, so there are two modes especially for that:
Num SDF Steps: how many steps were required for convergence, which is a good cost indicatorSDF on Y: for debugging the actual SDF. To change the Y, move your shape up and down (position.y inside SDFComponent).
Color-Blindness Debugging
Roughly 4% of all men are color-blind, so they have difficulty differentiating green/blue from red. The following RenderModes render the scene like a color-blind person would see them, so you can check whether your color clues are visible enough or not.
These RenderModes use the default render path, but change rendering in different ways (by testing for the RenderMode explicitly):
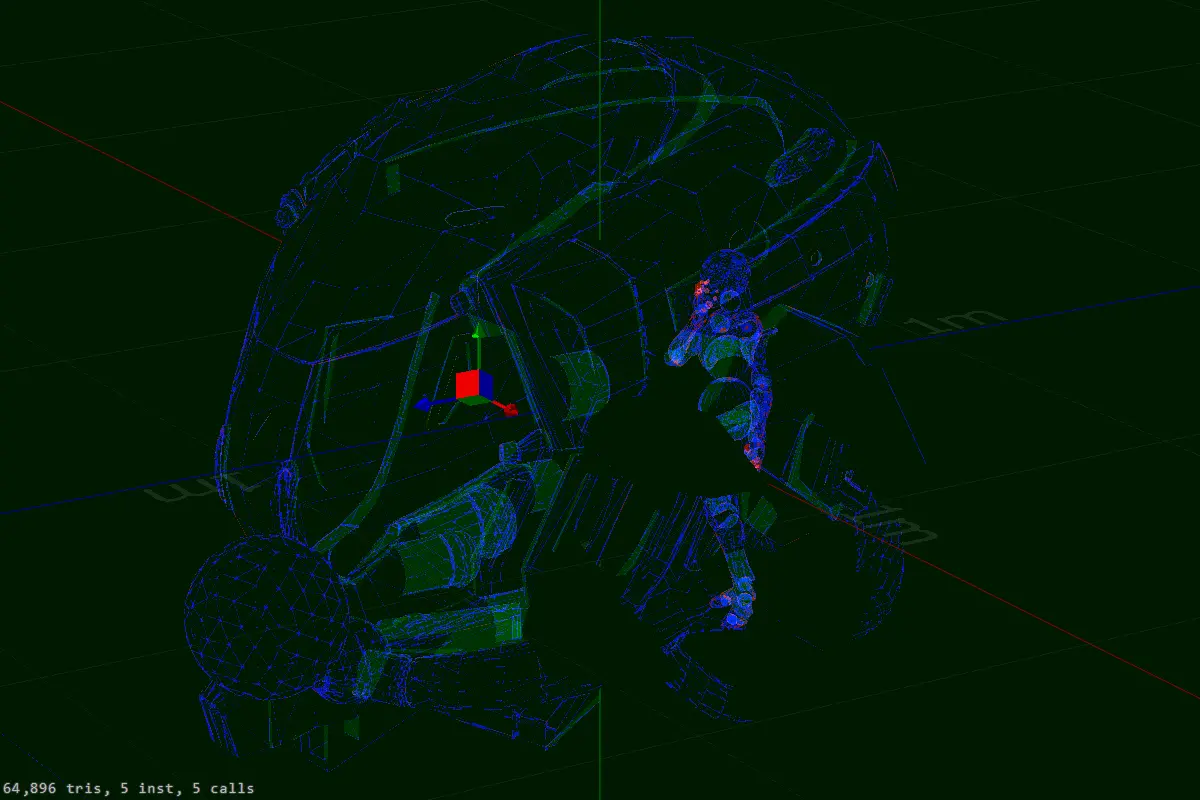
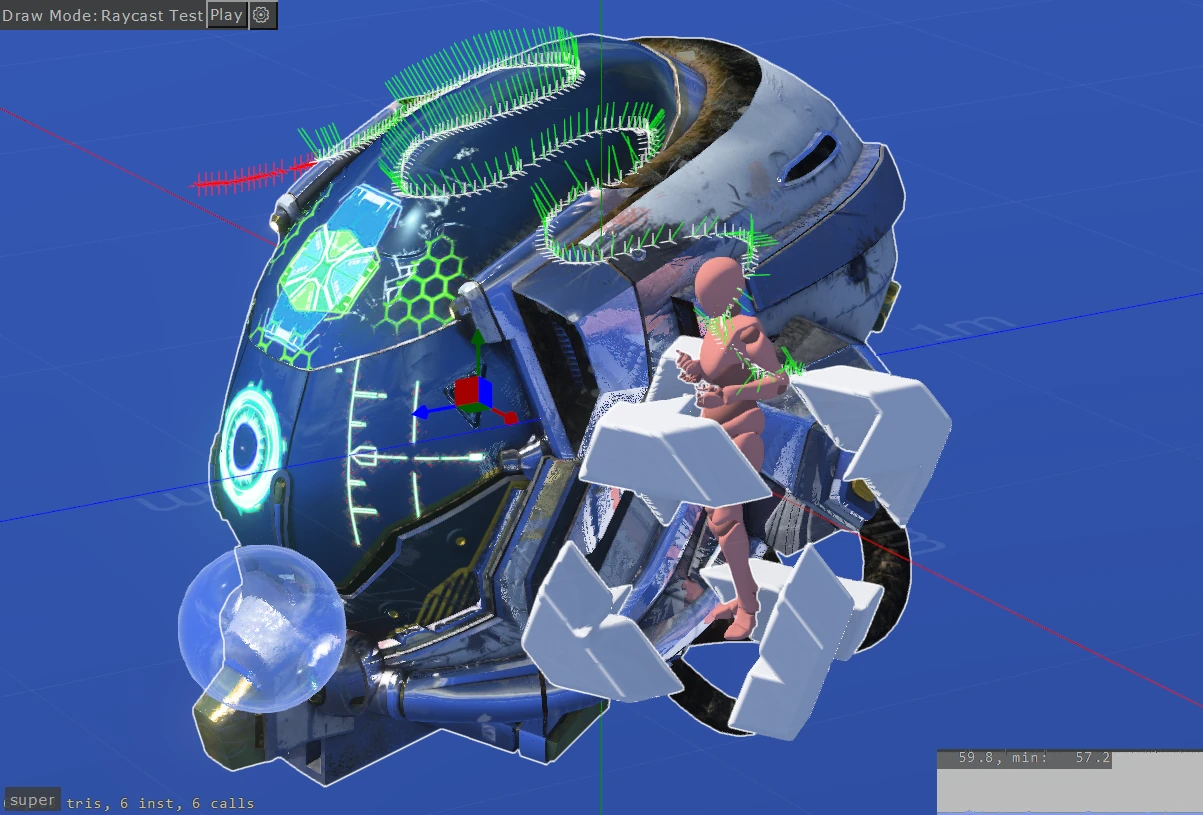
Lines: shows the lines, from which the triangles of the scene are built.Lines MSAA: lines, just with MSAA.Show AABBs of the scene hierarchy.Raycast Test: casts a ray into the scene each frame, and marks the first hit in white with the surface normal in green, or red if nothing was hit. Old positions are kept for five seconds, and then disappear automatically.
Created: 15:01, 26. Mar 2023;
Most recent change: 17:38, 09. Apr 2025

.webp)

.webp)
.webp)